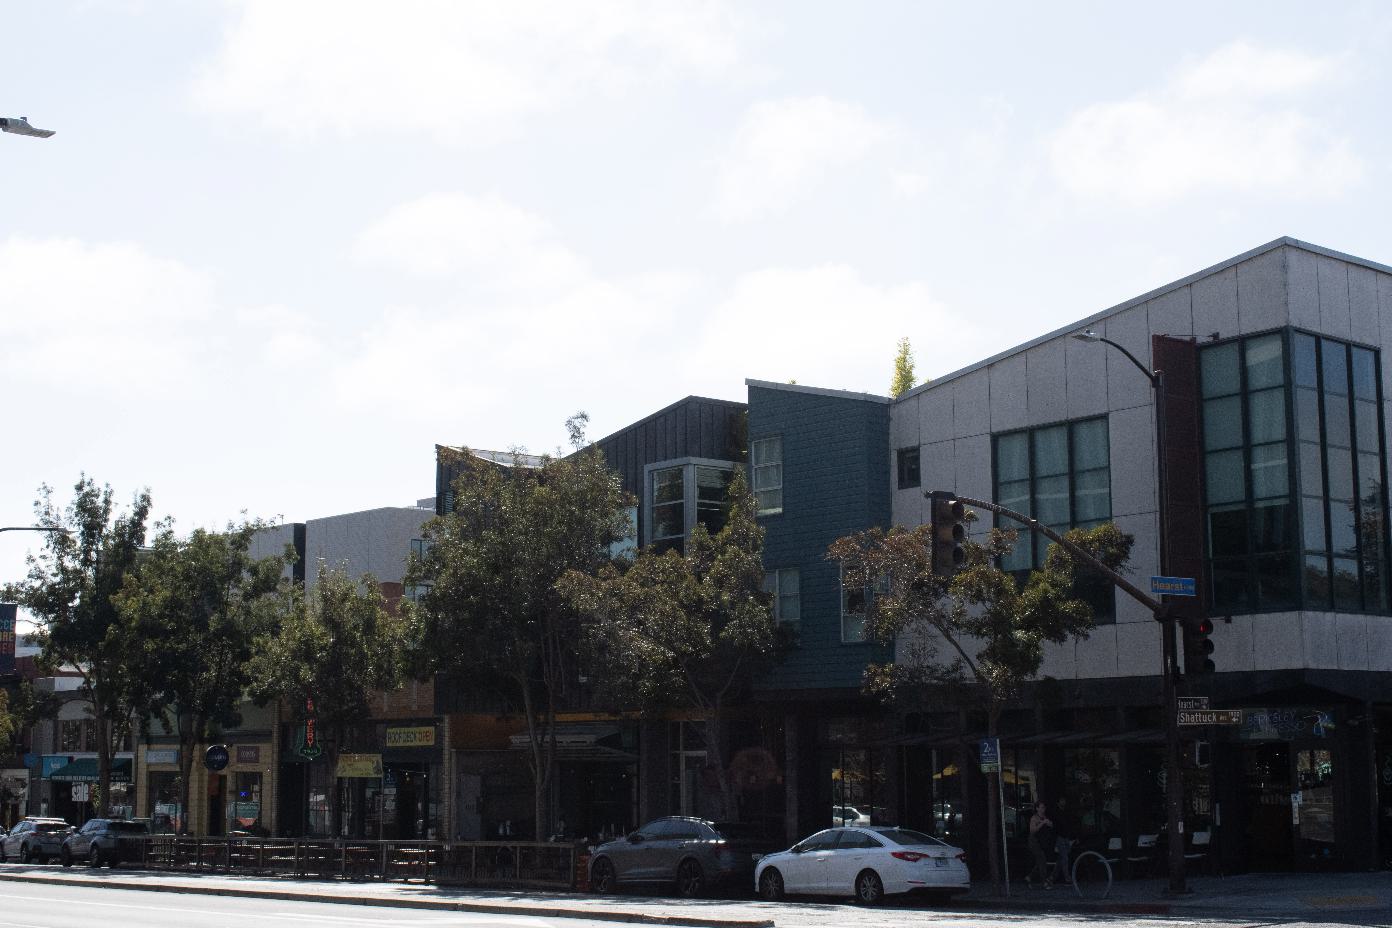
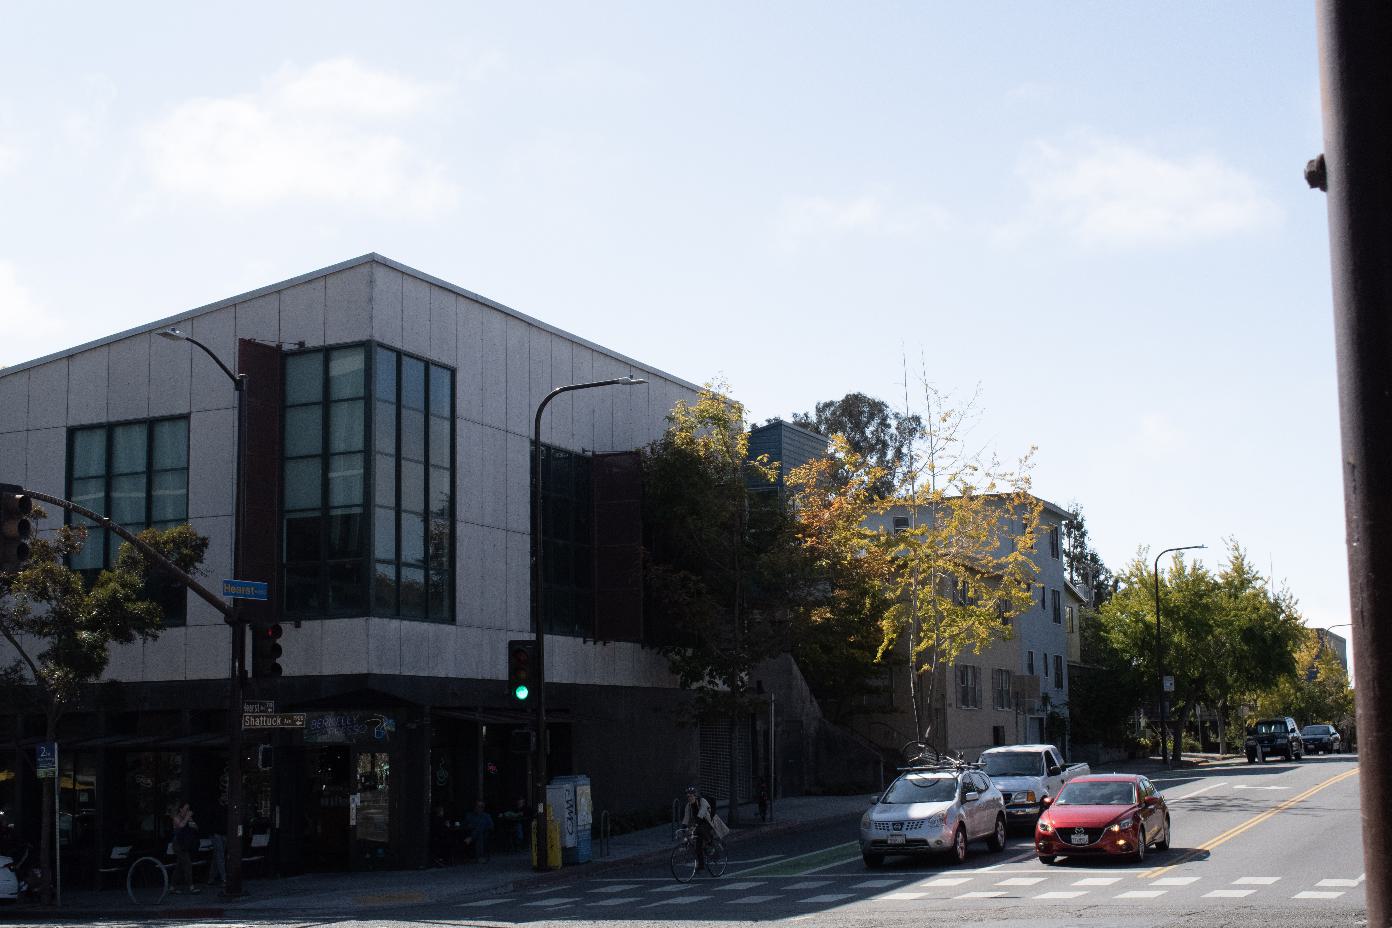
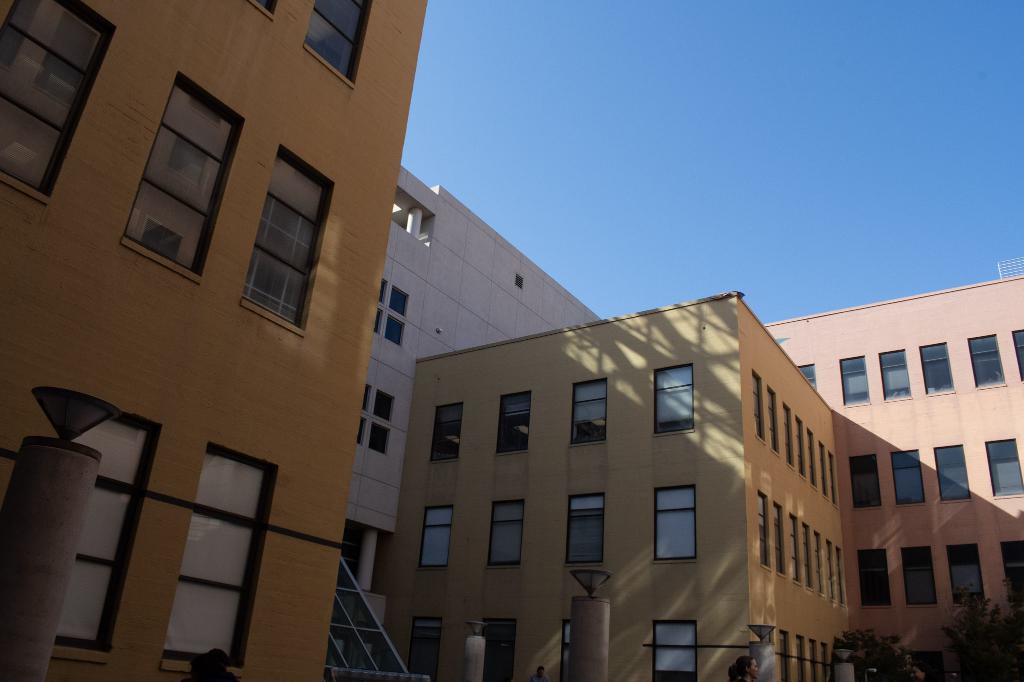
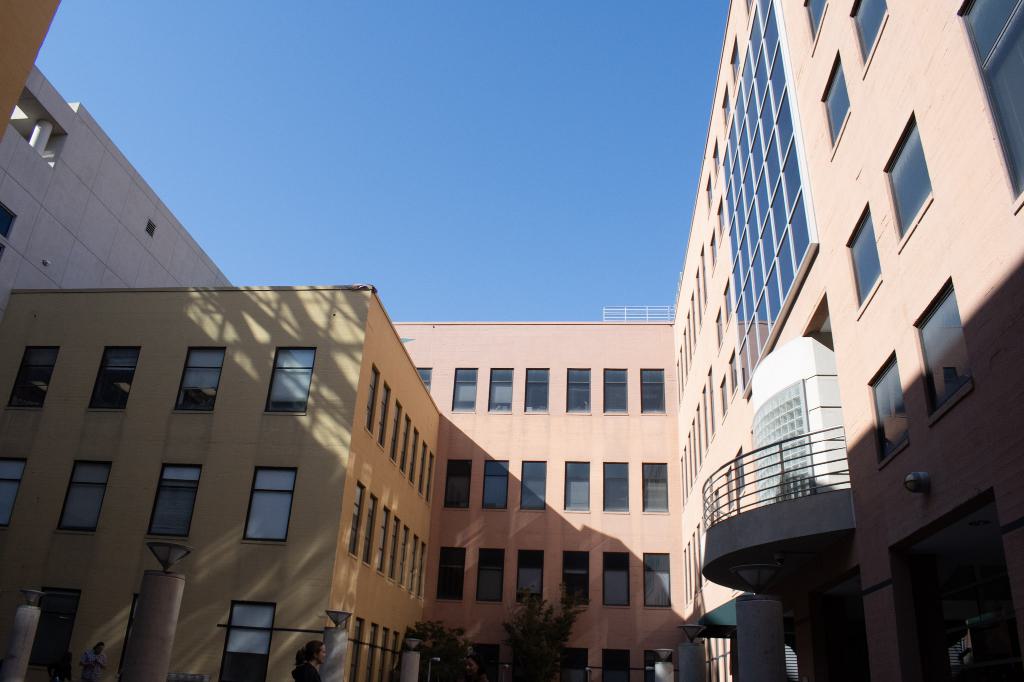
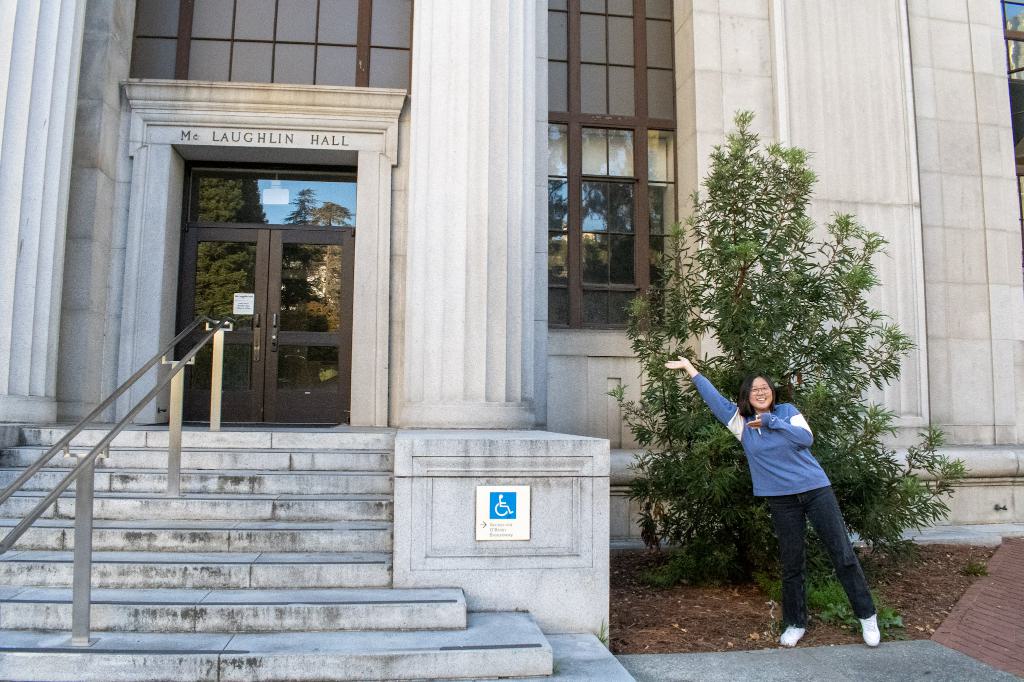
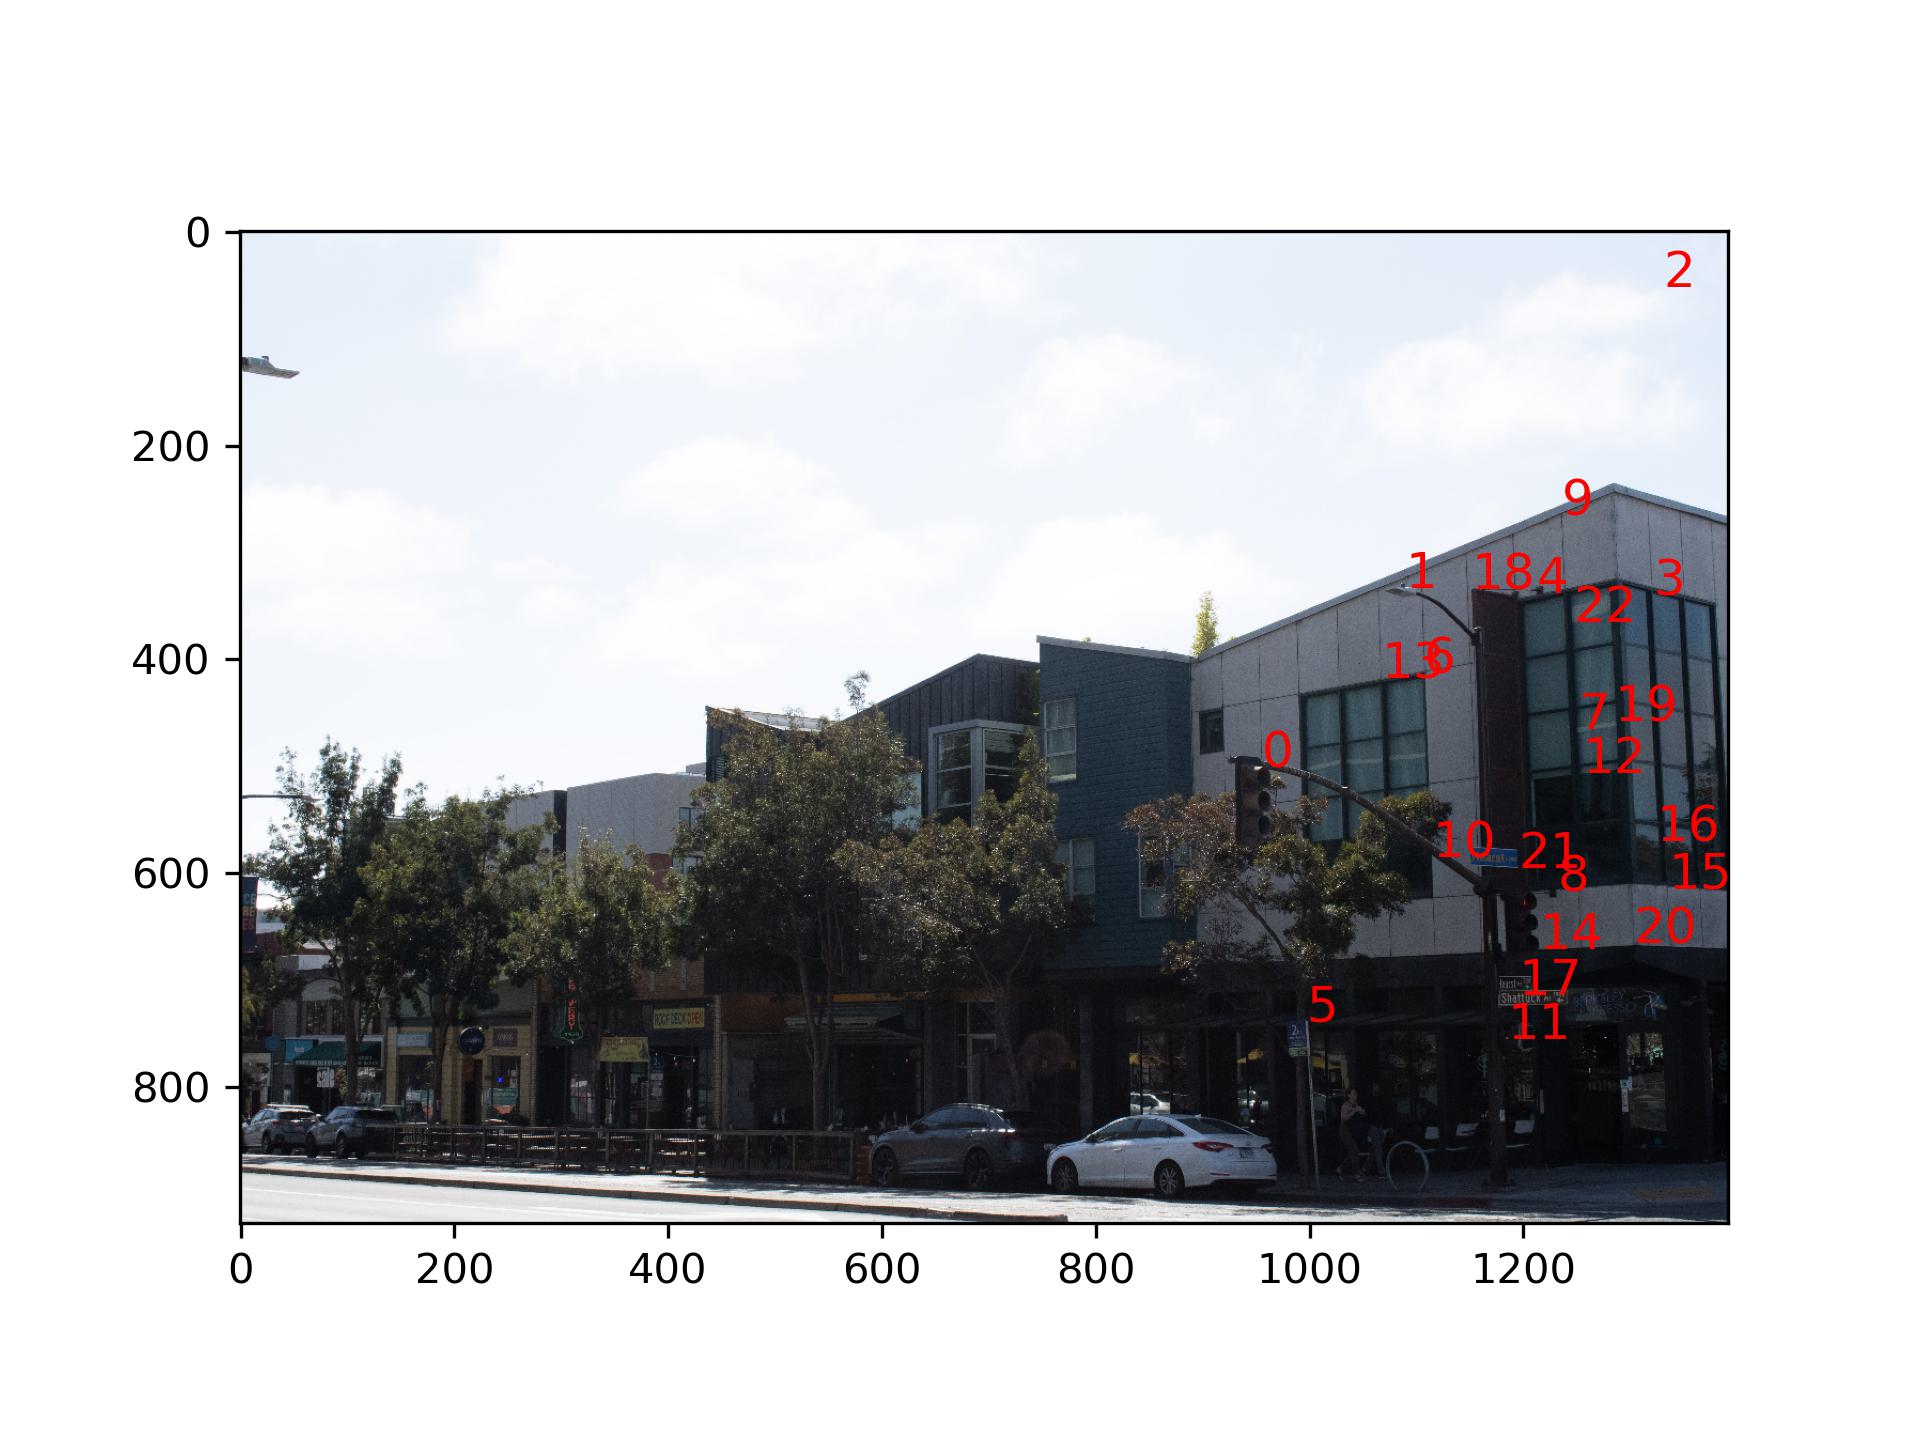
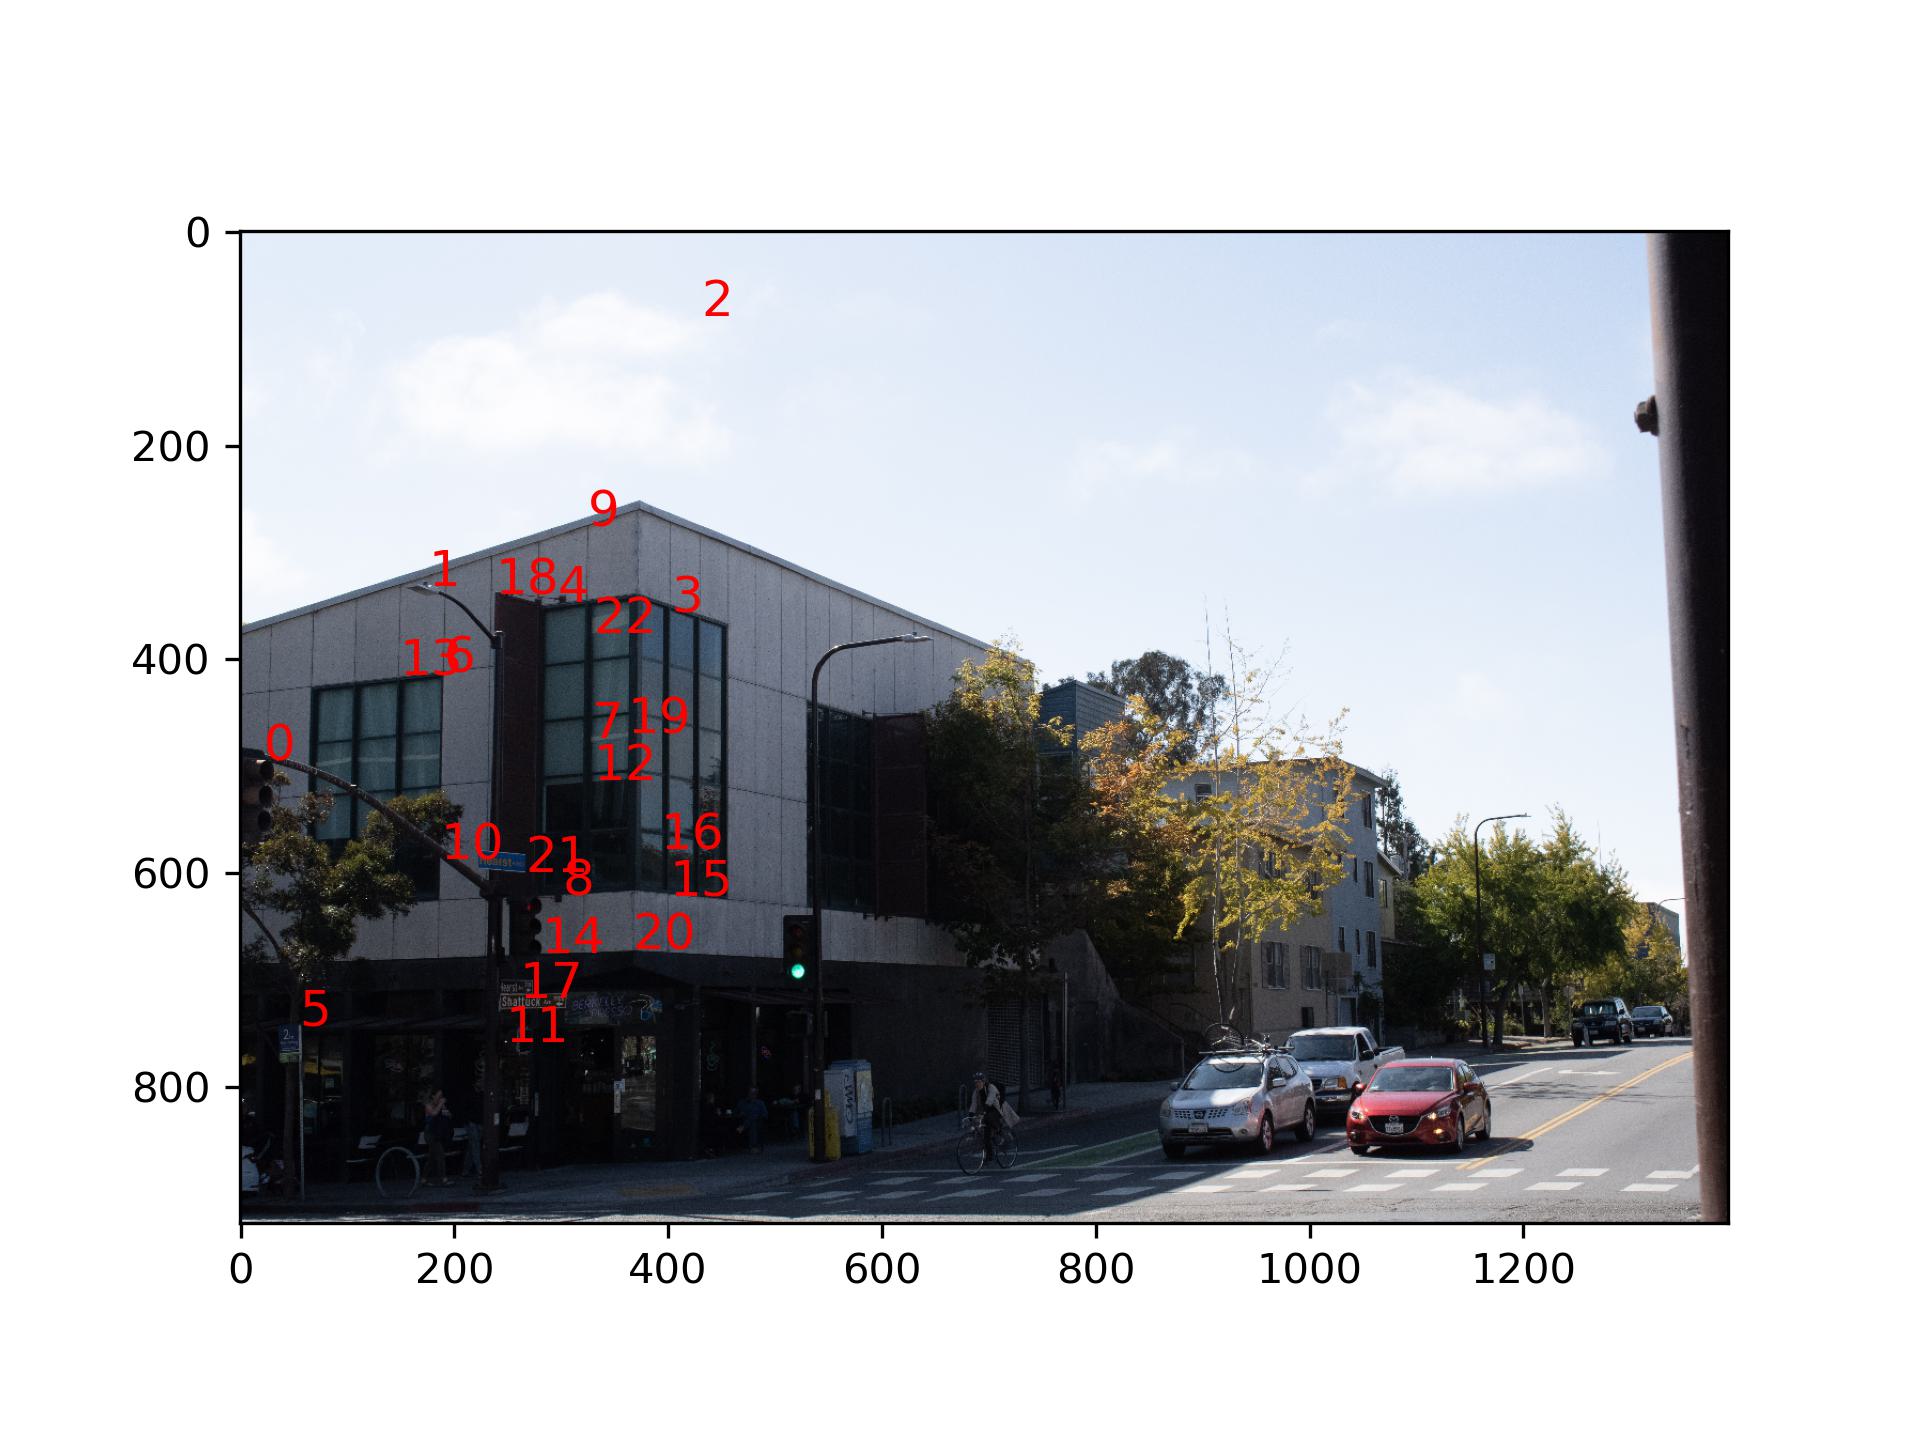
I first shot the images on Shattuck Ave.
I choose to project the left image of Shattuck Ave to the right image. First I calculated the projective
transformation matrix from left to right with 9 common points I selected from the two images.
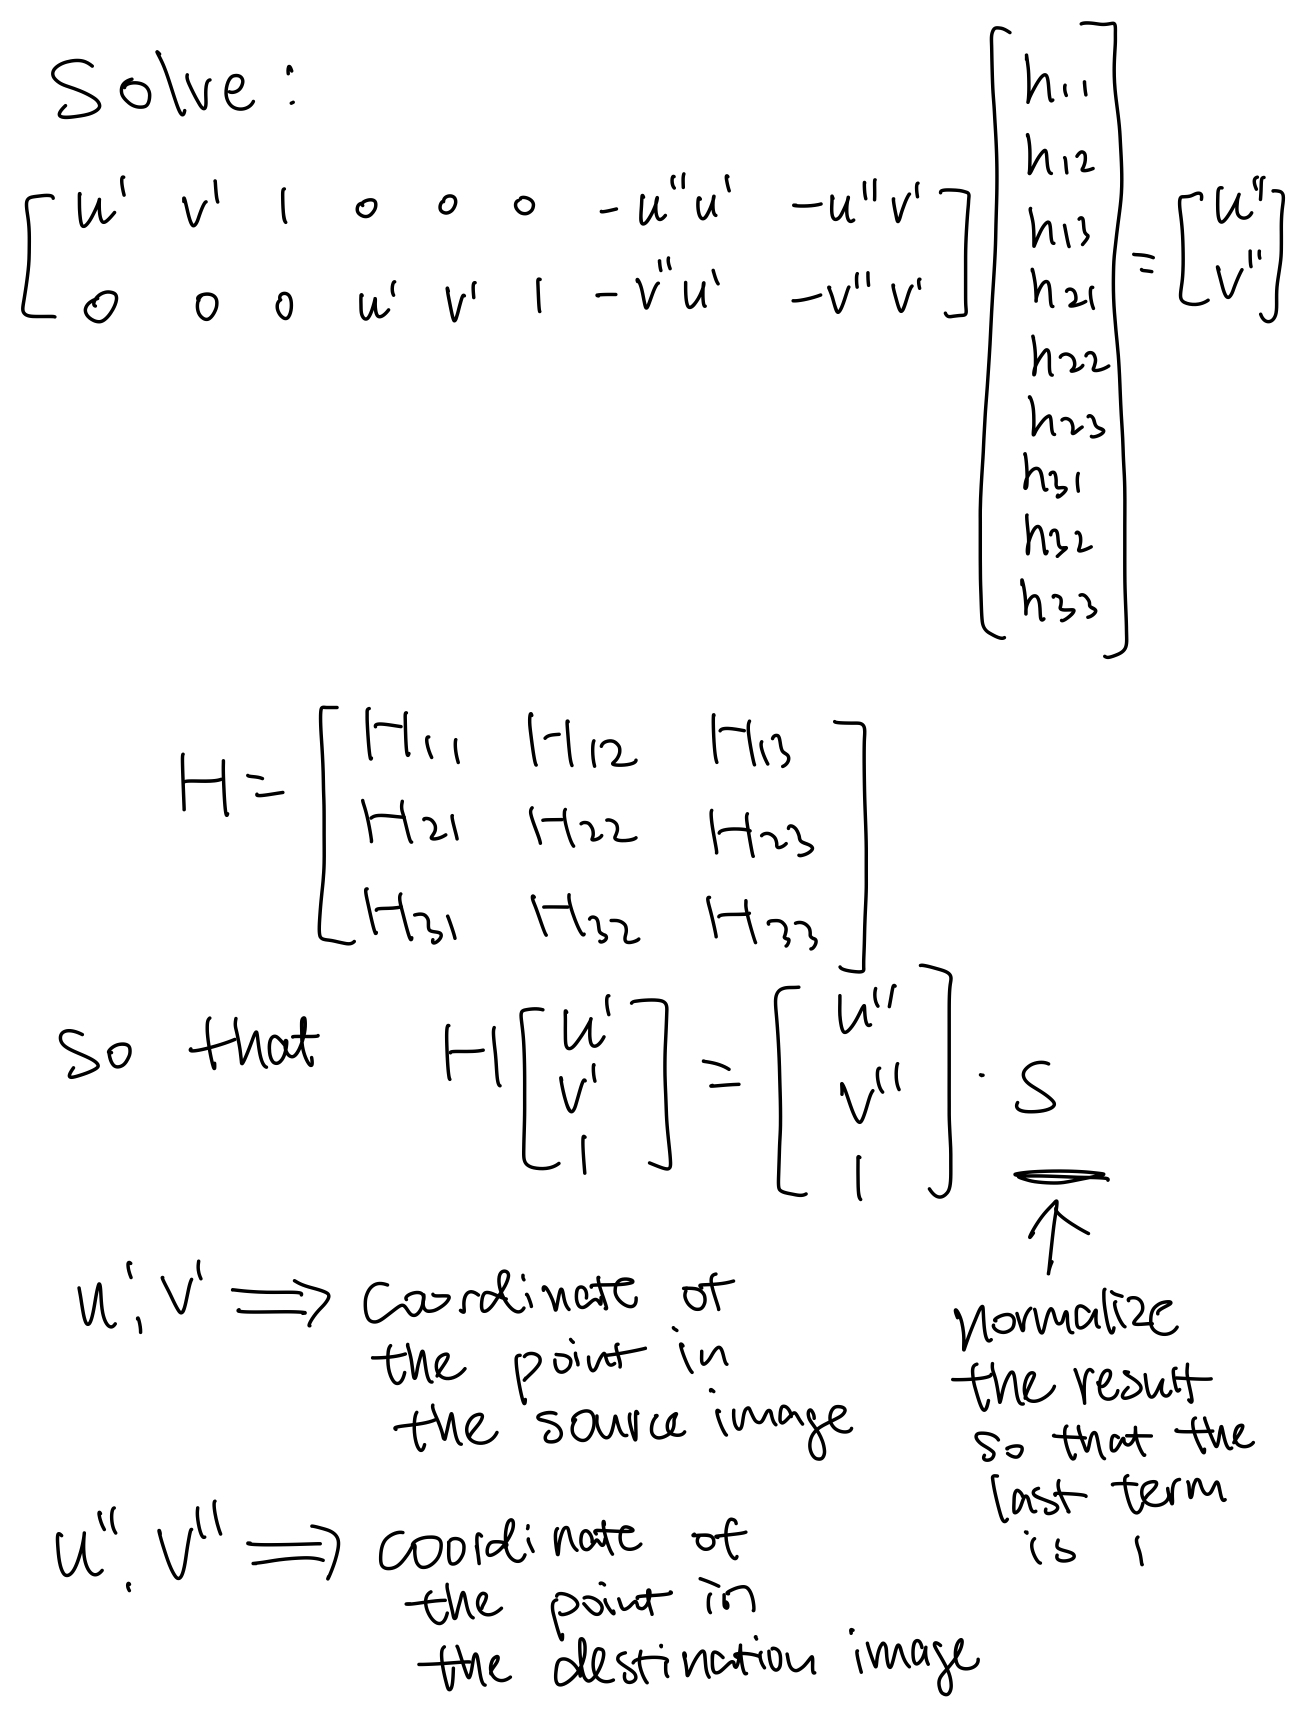
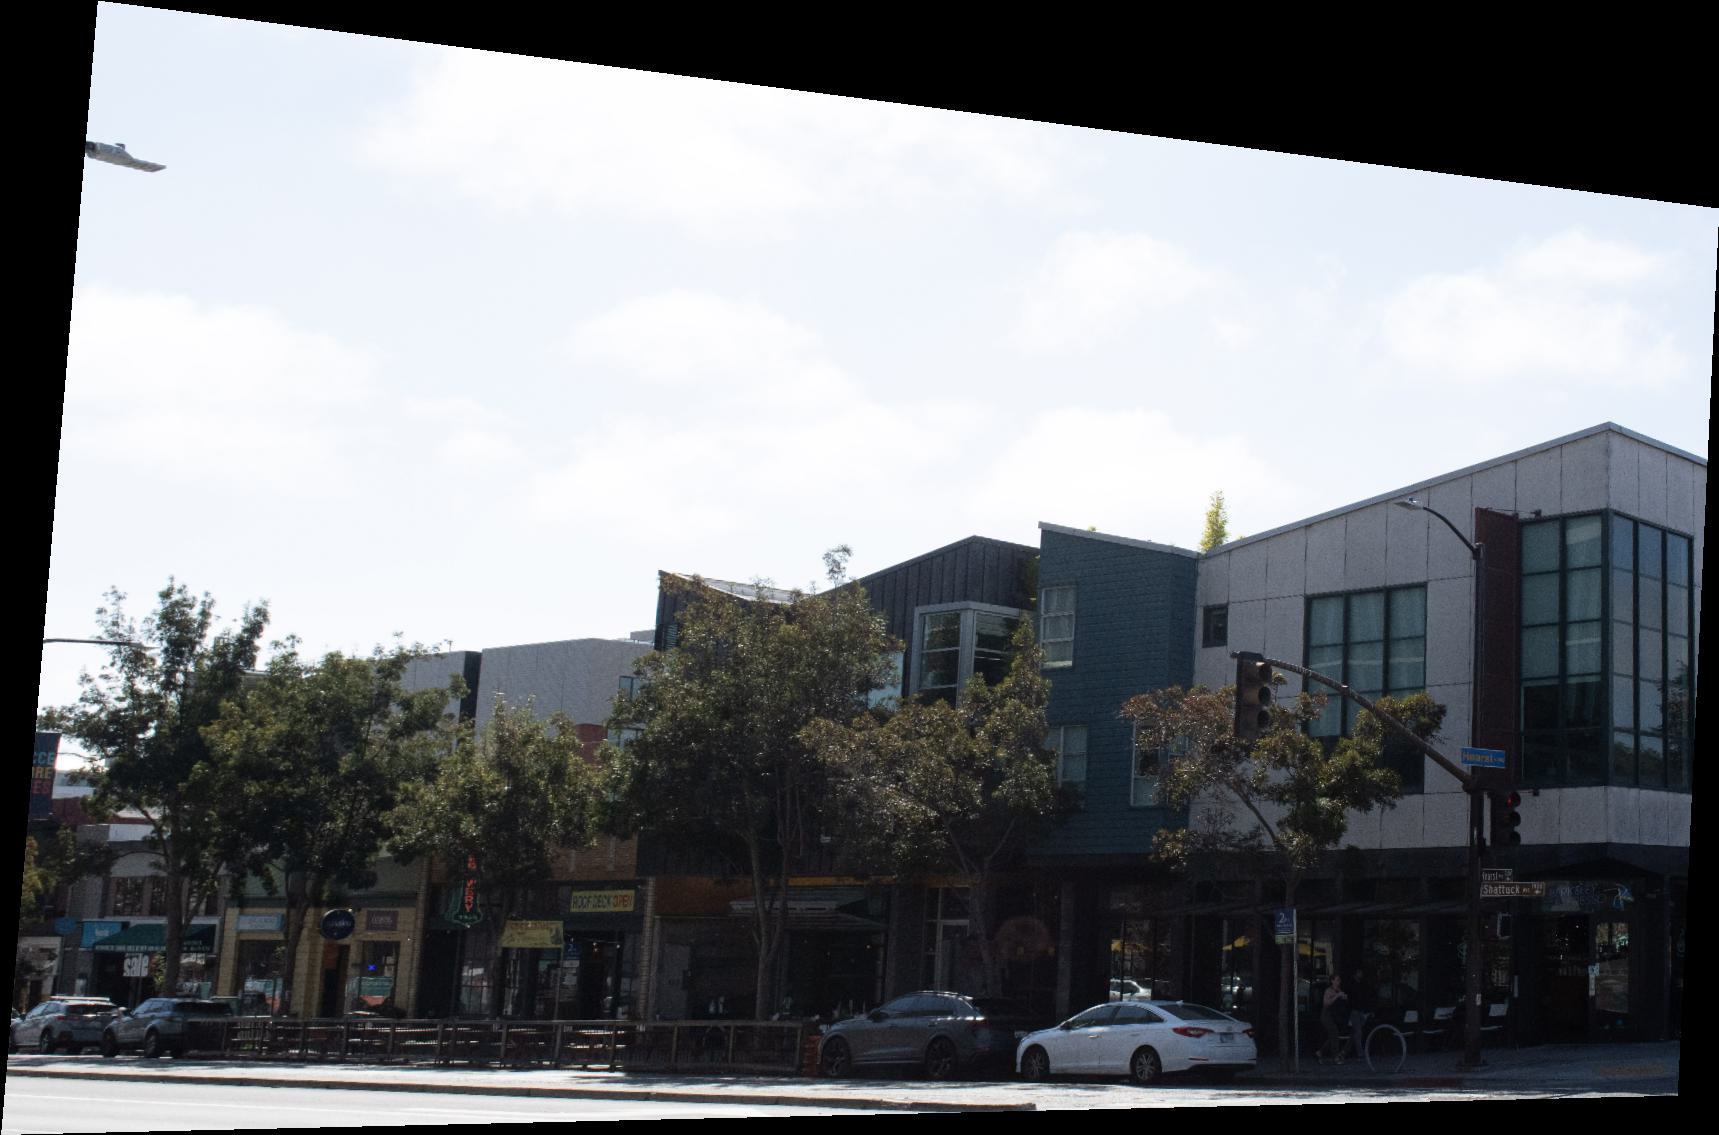
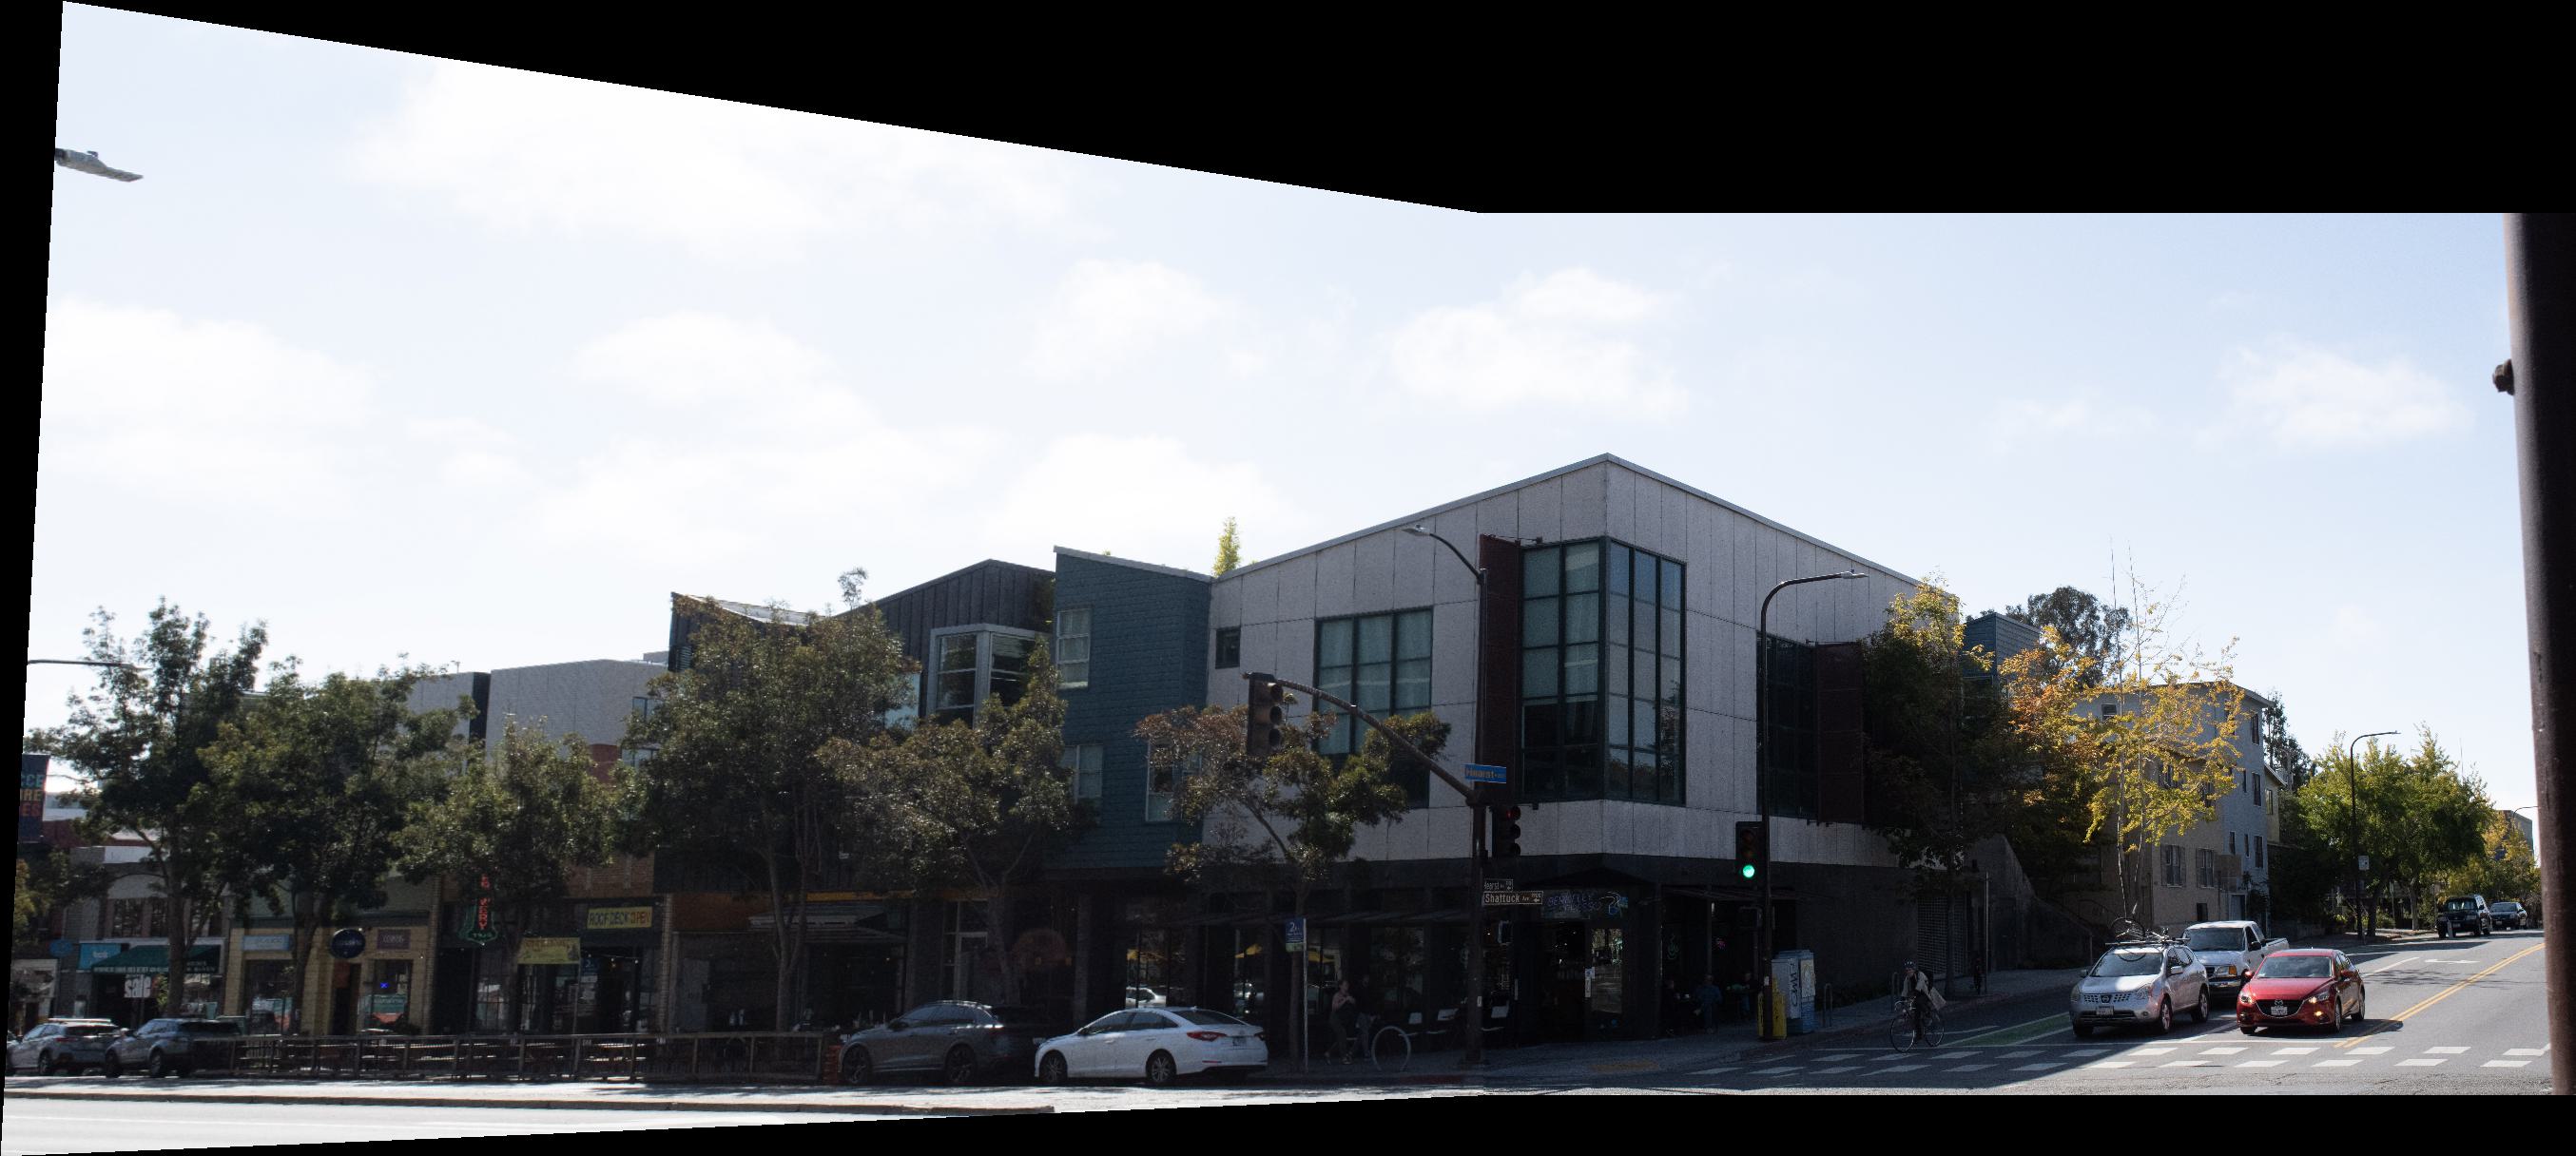
I used inverse warping to get the warped images. First I calculated the corresponding points in the original image of the warped image with H_inverse. Then I used interpolation to find the value of the warped image pixel. To make sure the full image is warped, I calculated the corresponding points in the warped image of the four corners in the original image, then made a canvas based on coordinates of the four corners in the transformed image.
Image of the left side of Shattuck Ave. warped:
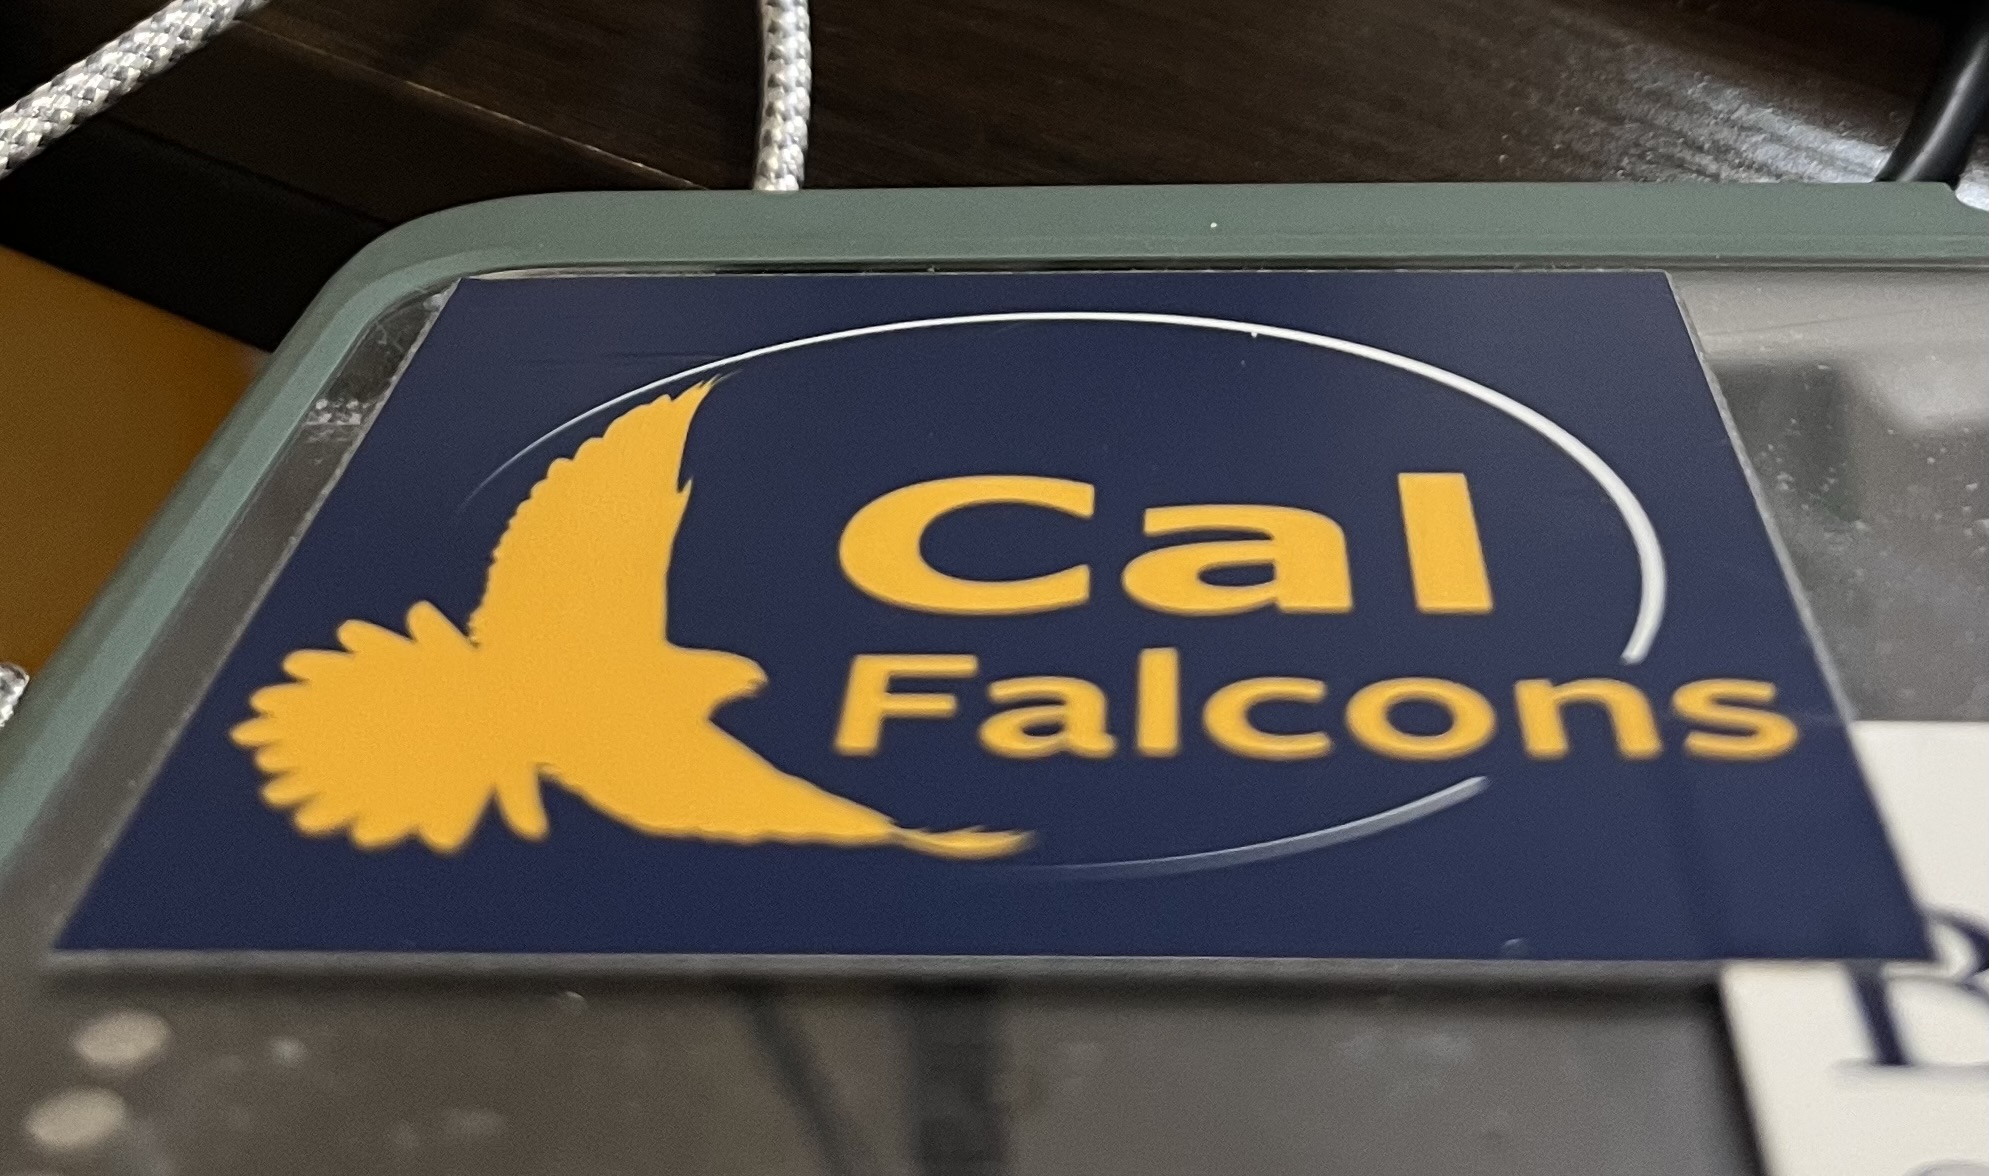
To test that my warping function works properly, I tested the function on this image of a sticker:
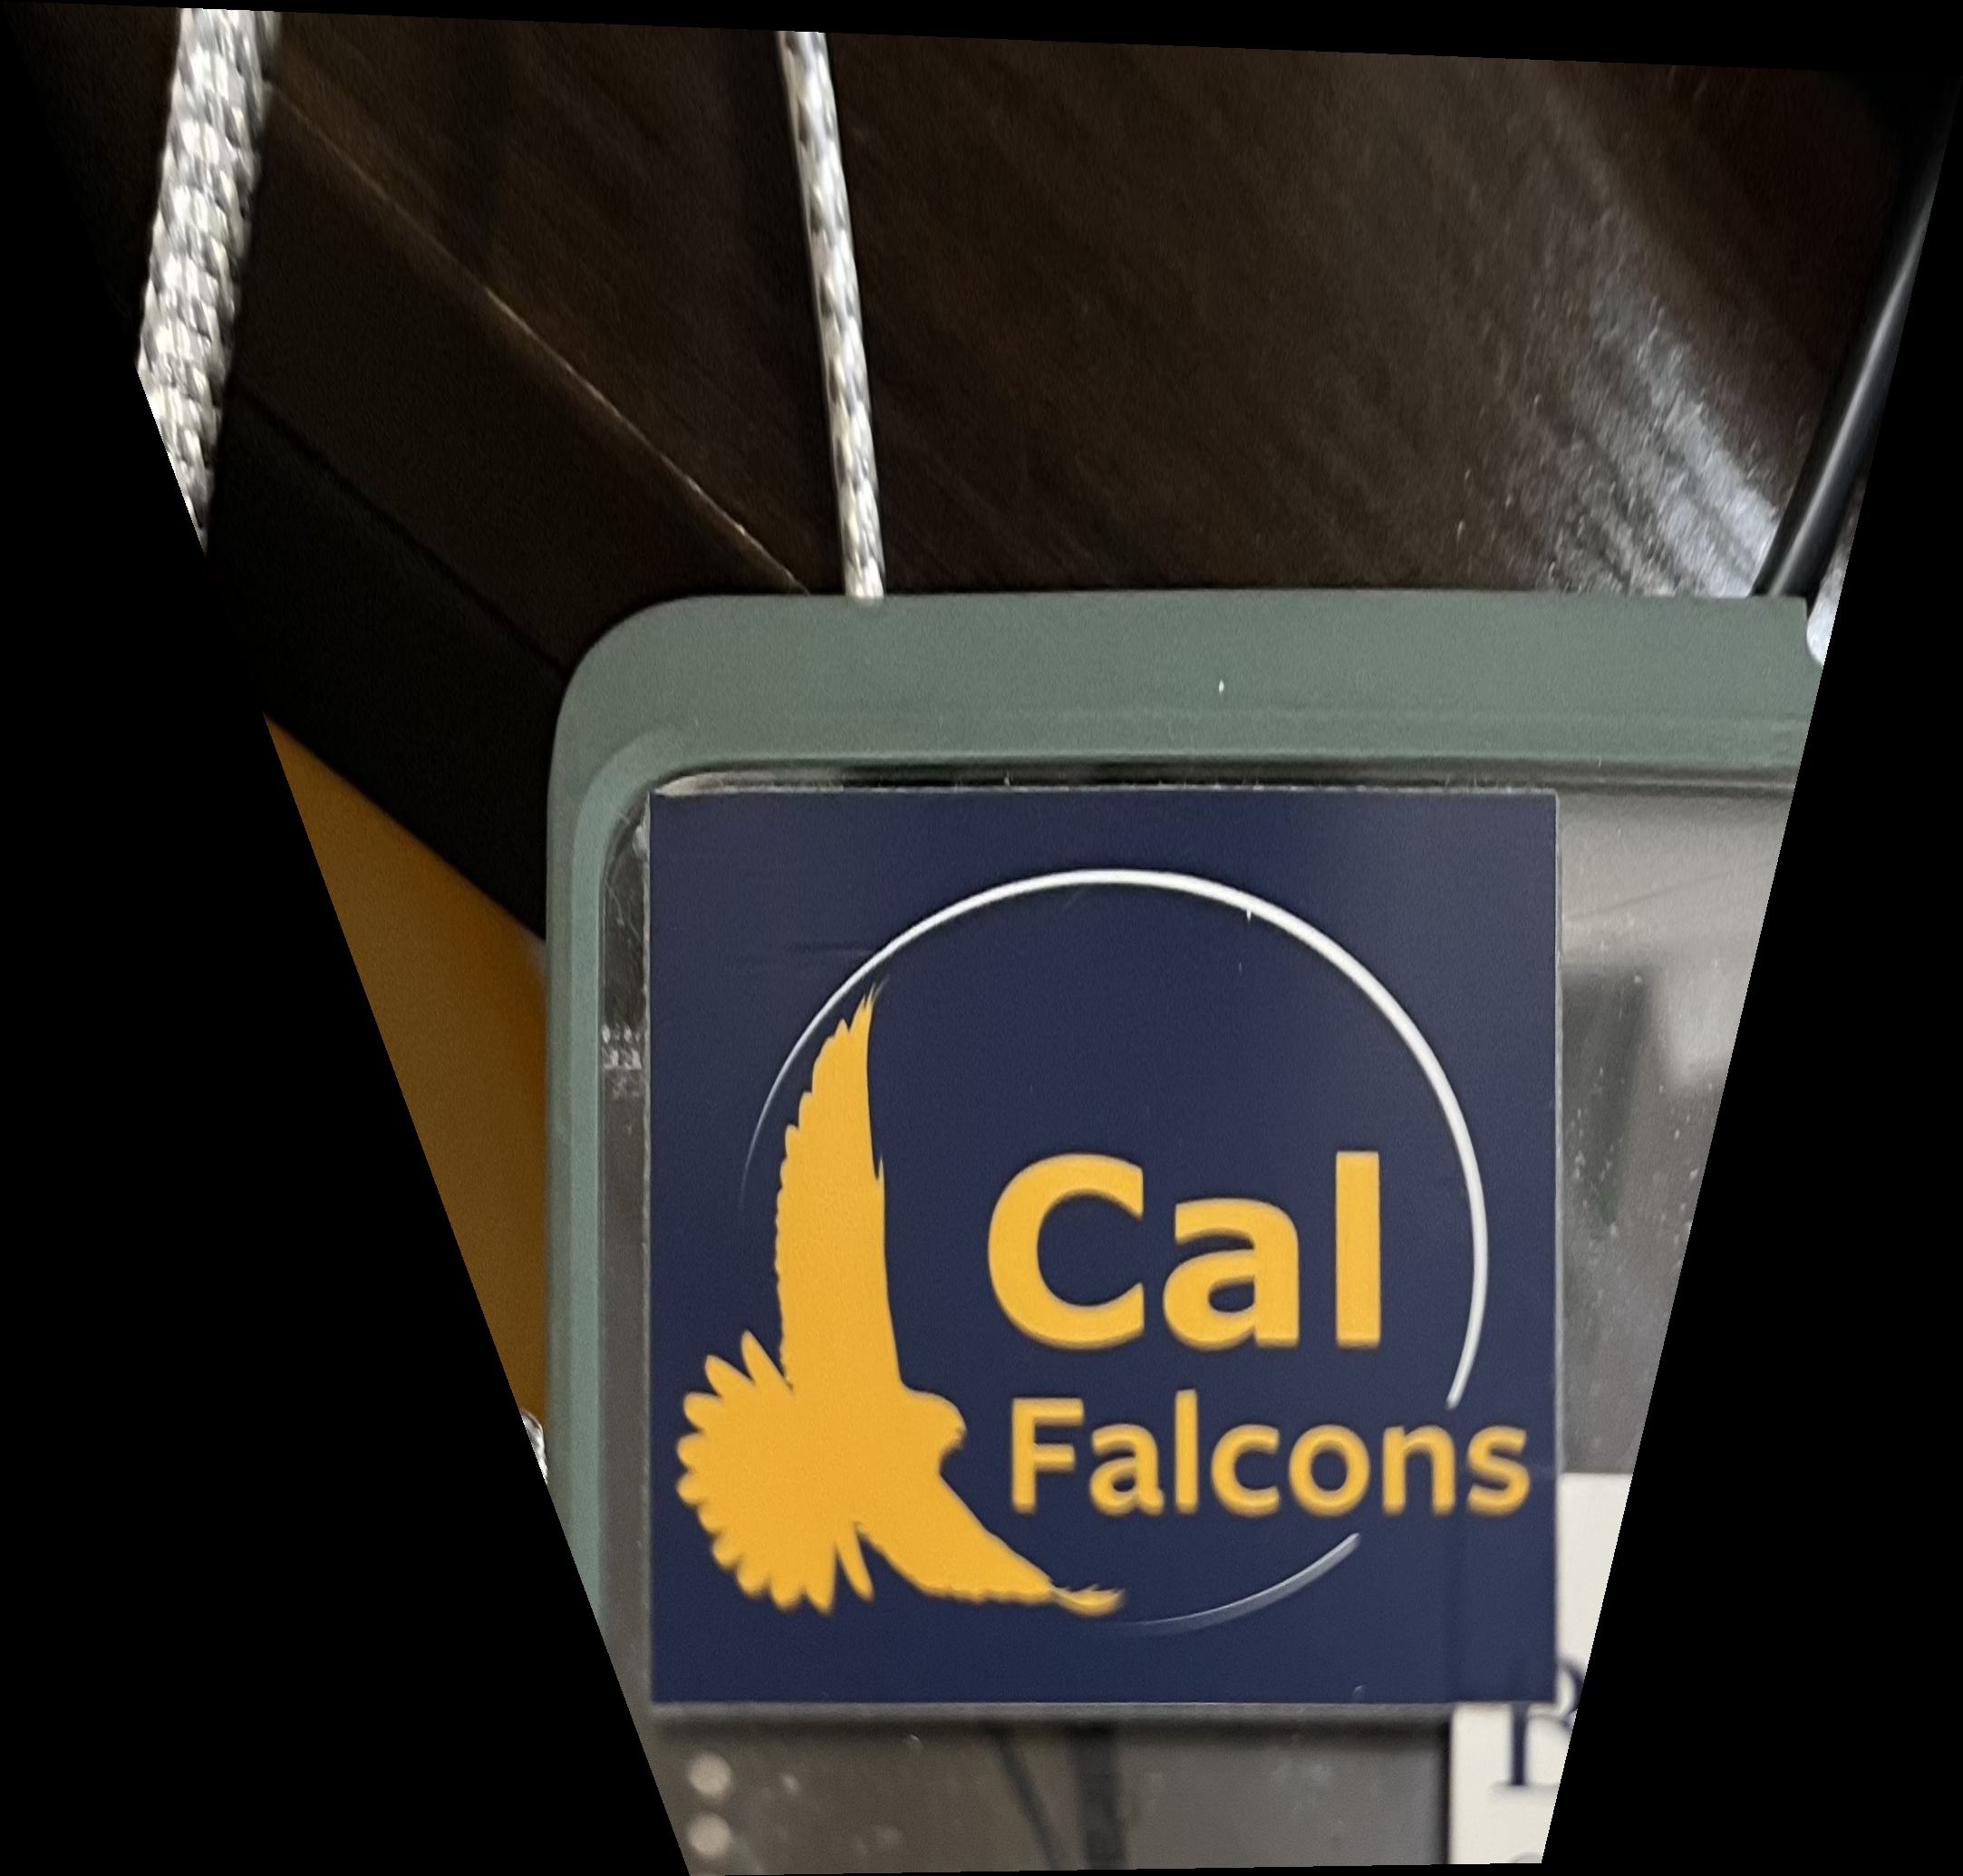
After rectification:
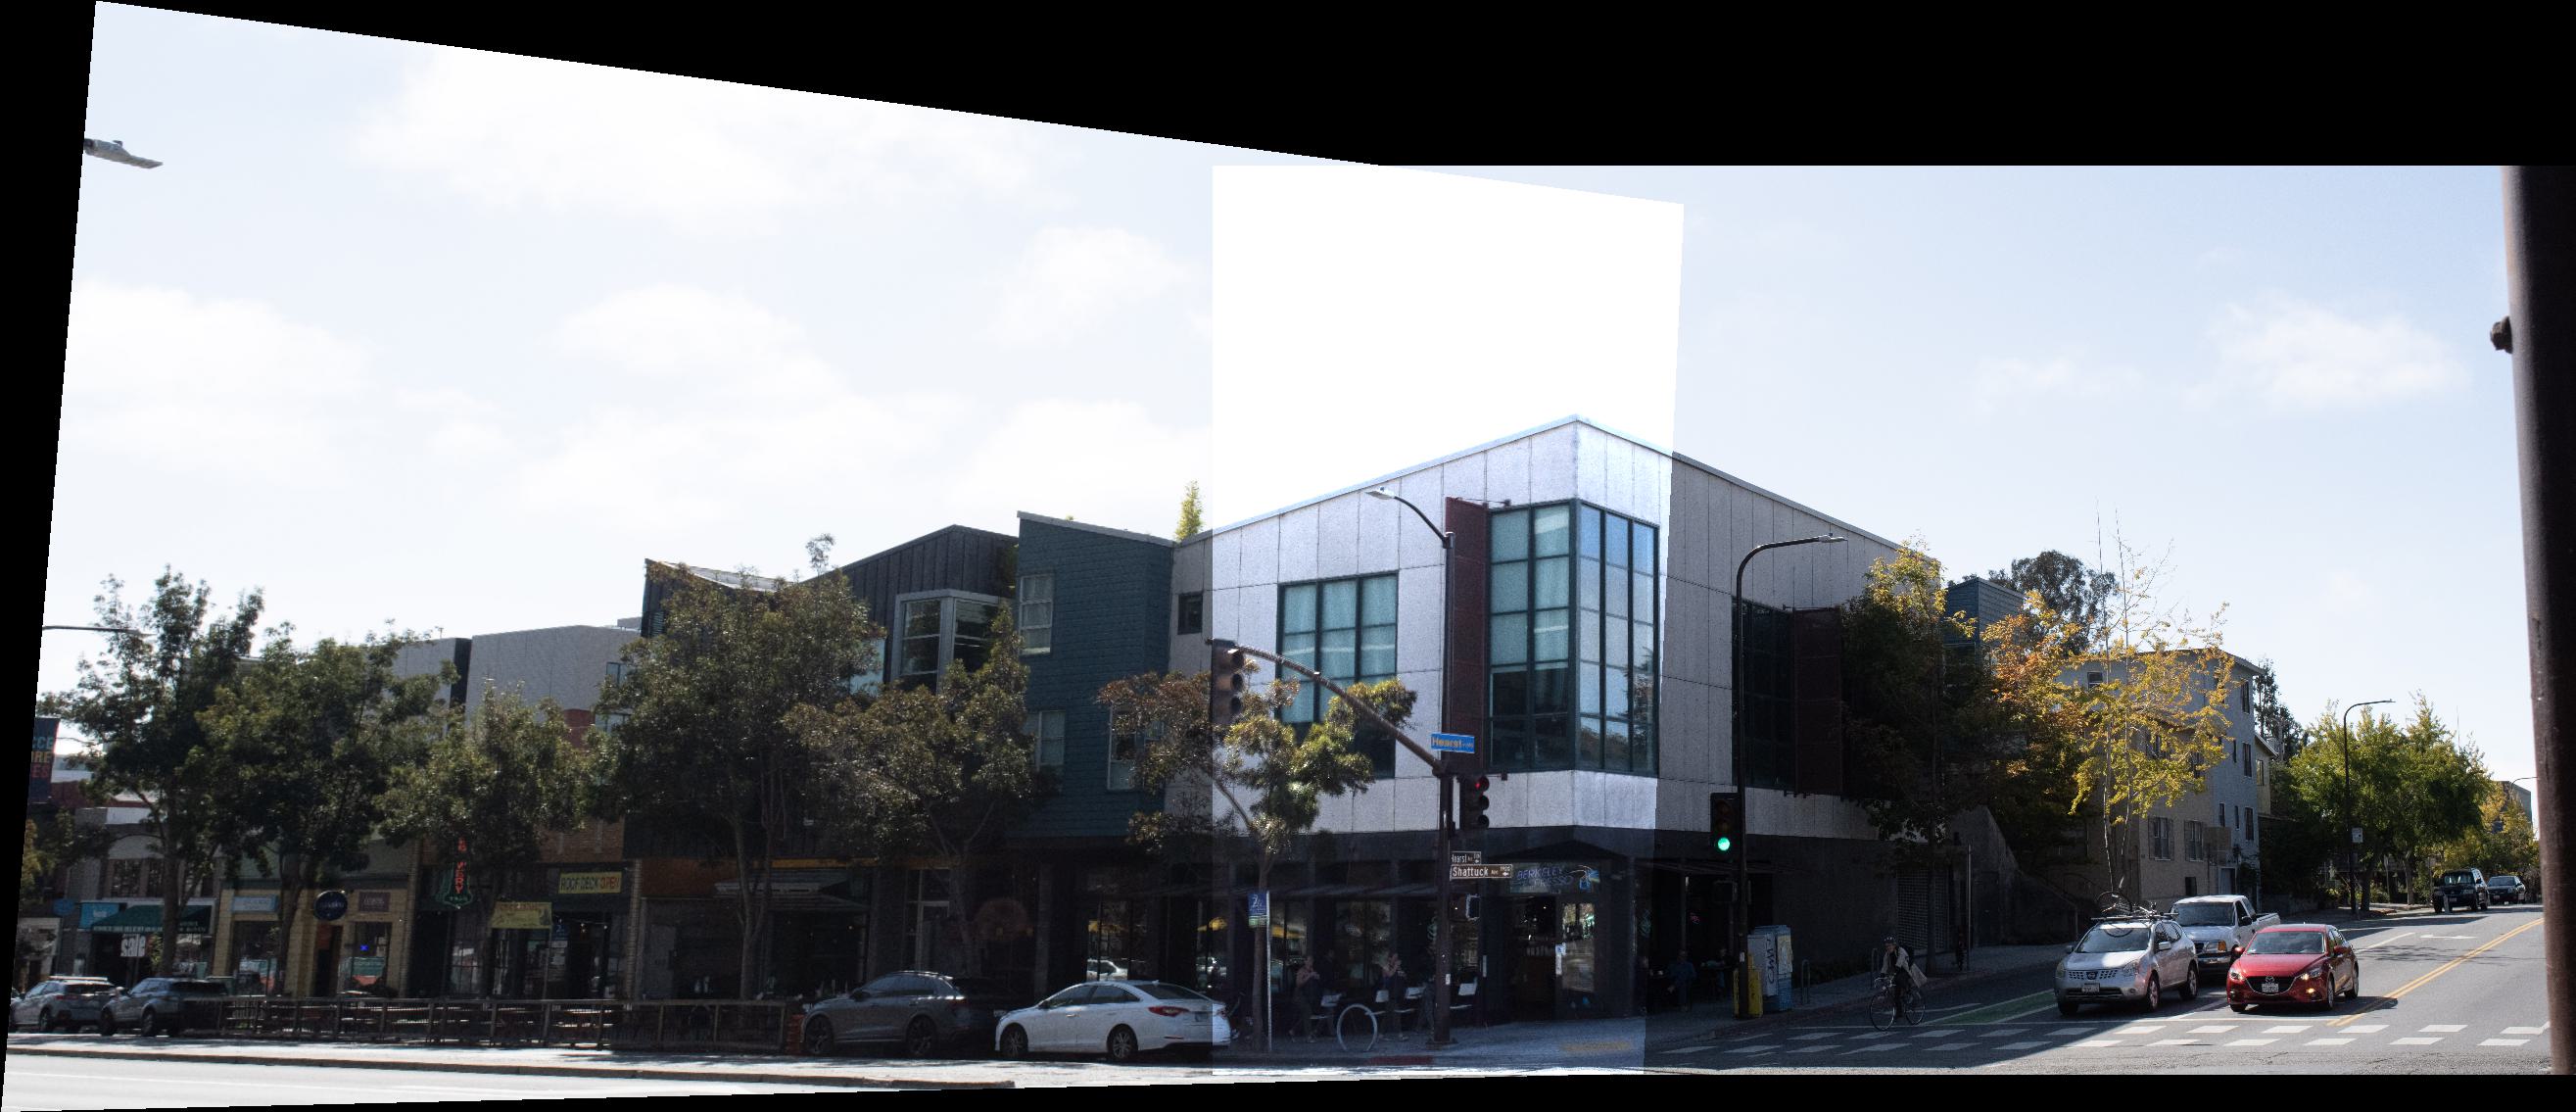
Directly adding the two images of Shattuck Ave produces an overly bright overlap region.
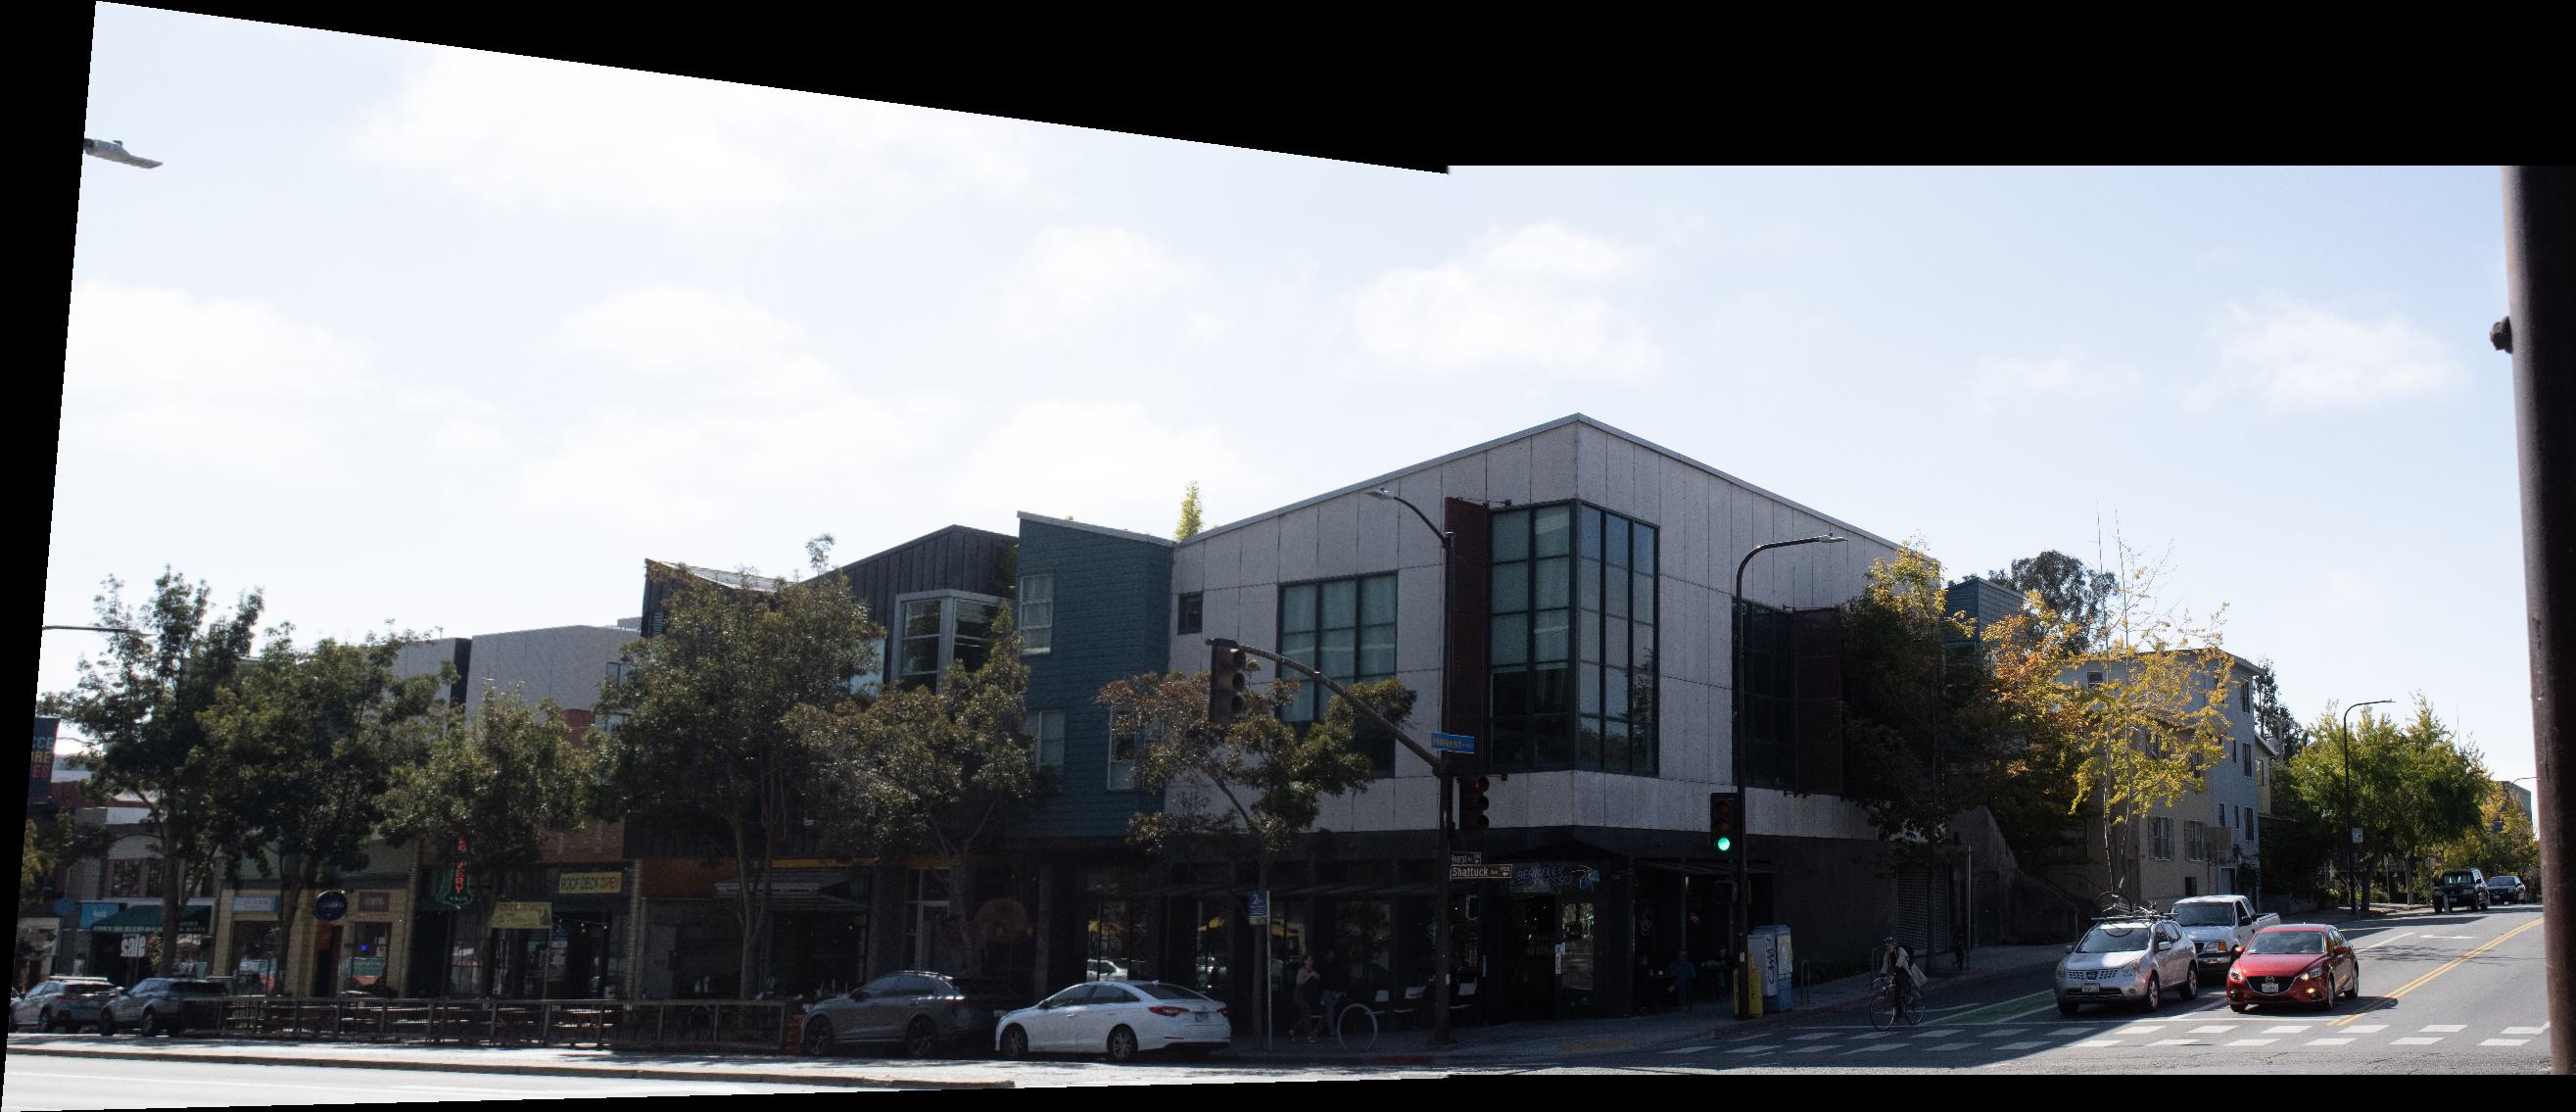
To blend my images, I picked the seam to be in the overlap region of the two images, and use pyramid blending with a
mask. Everything left of the seam on the mask is 1 and right of the seam is 0.
Mask:

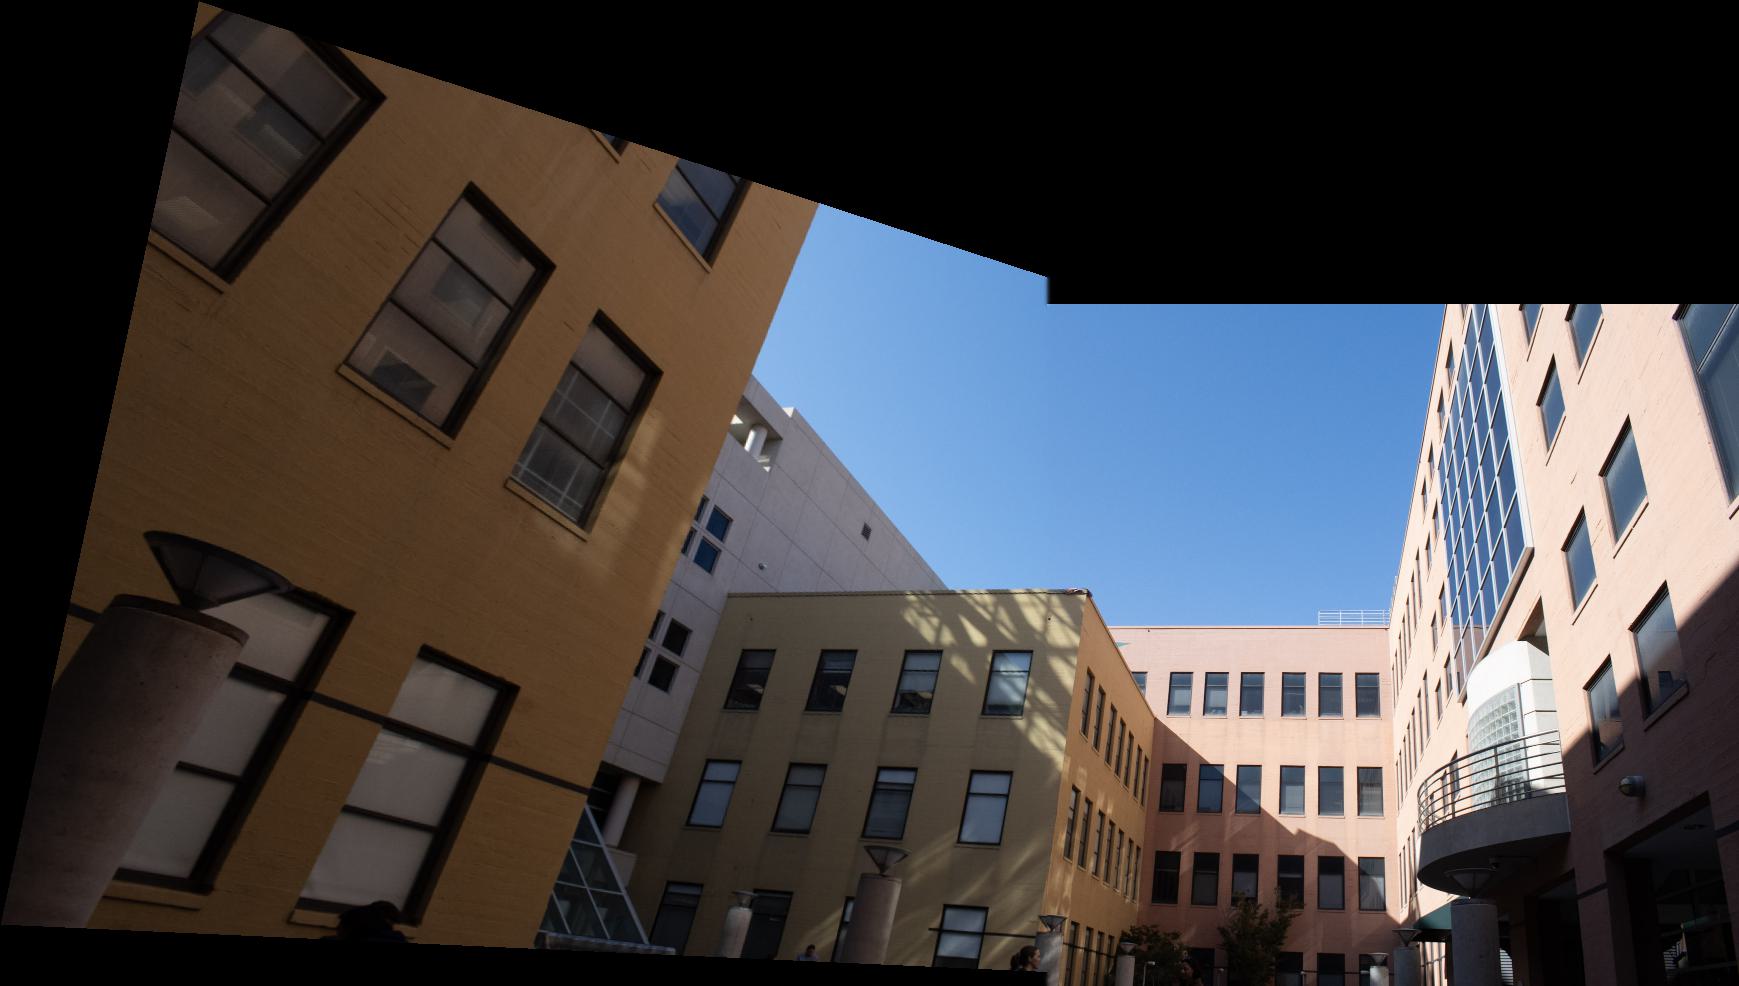
Stitched and Blended:
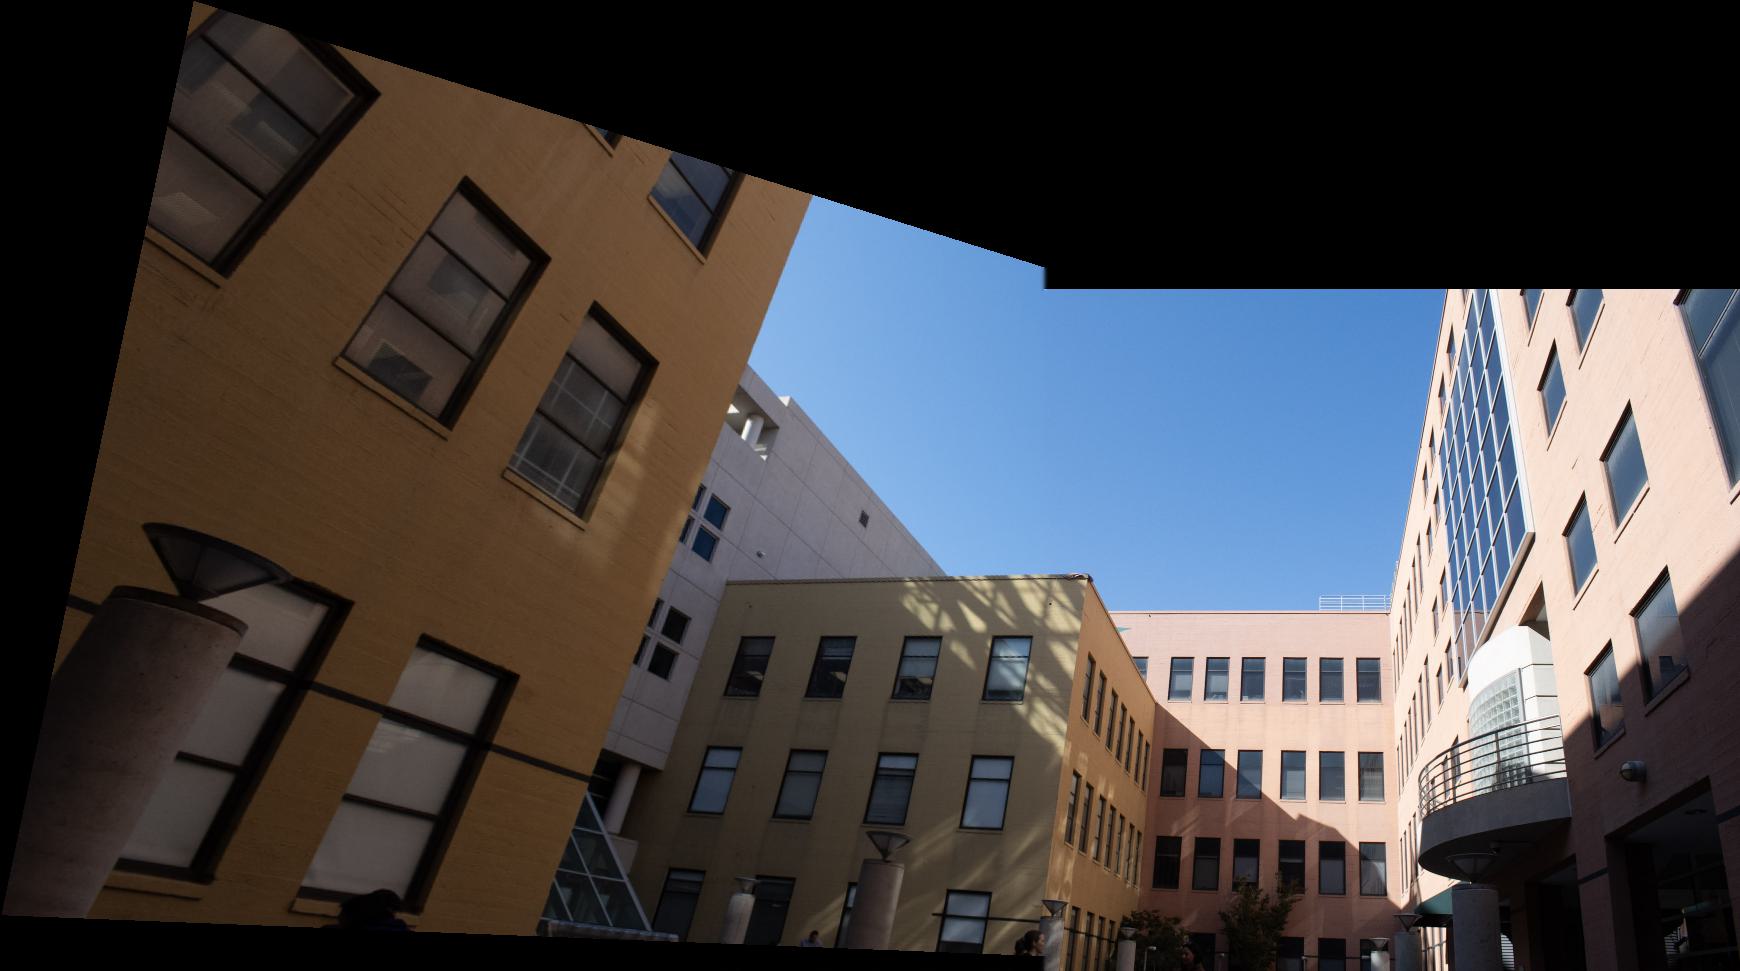
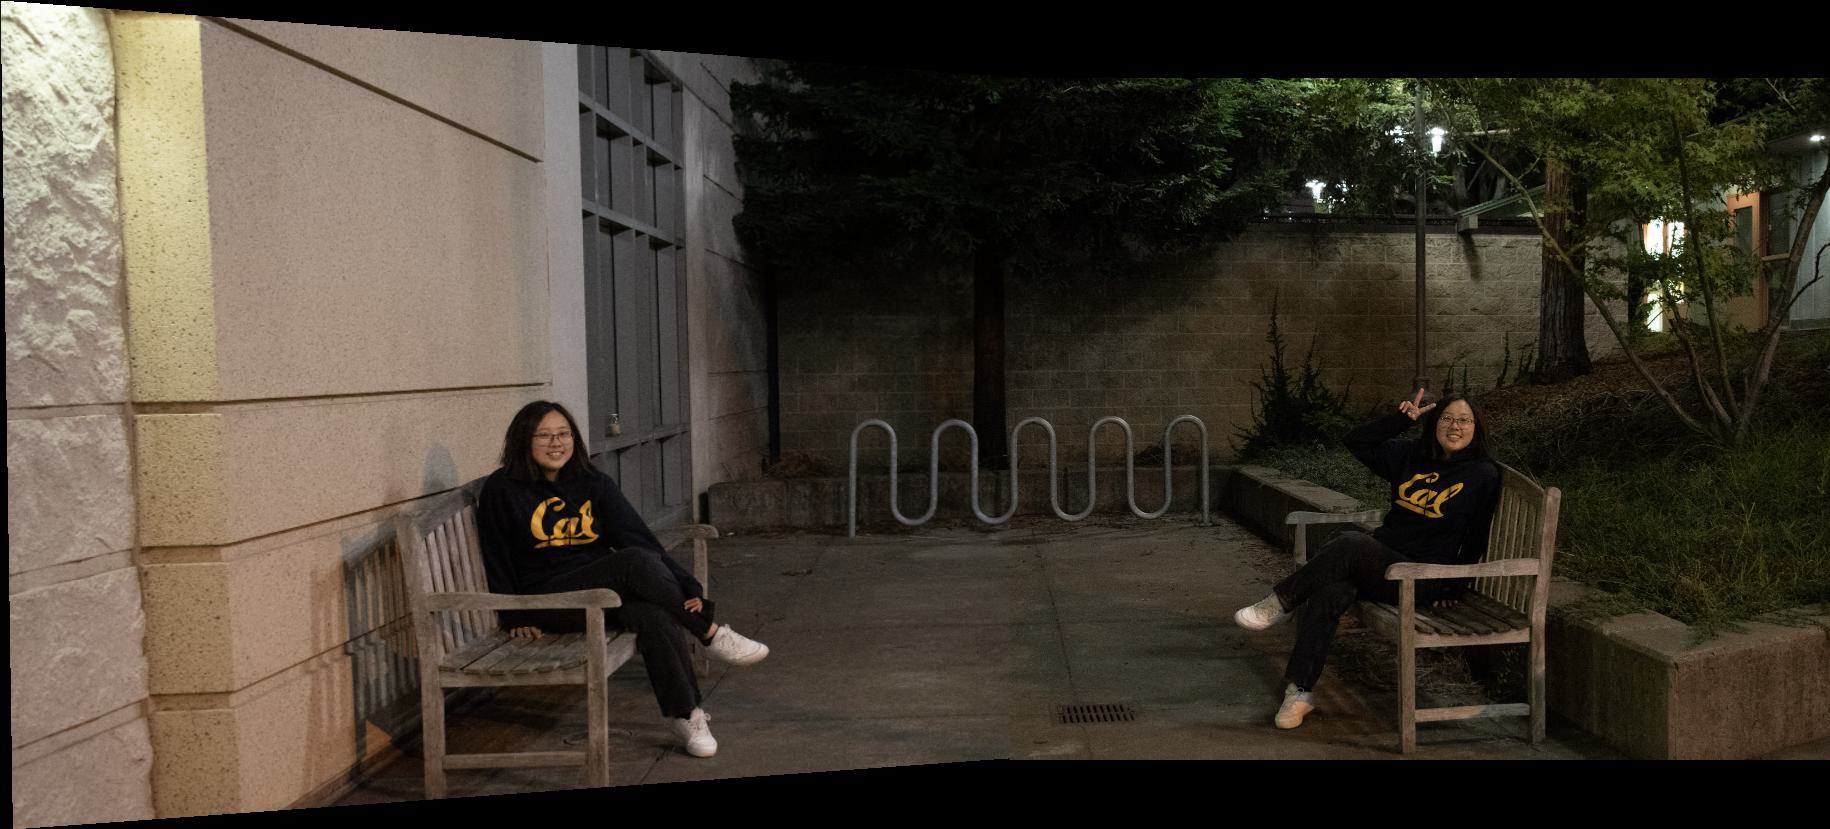
VLSB:
Stitched:
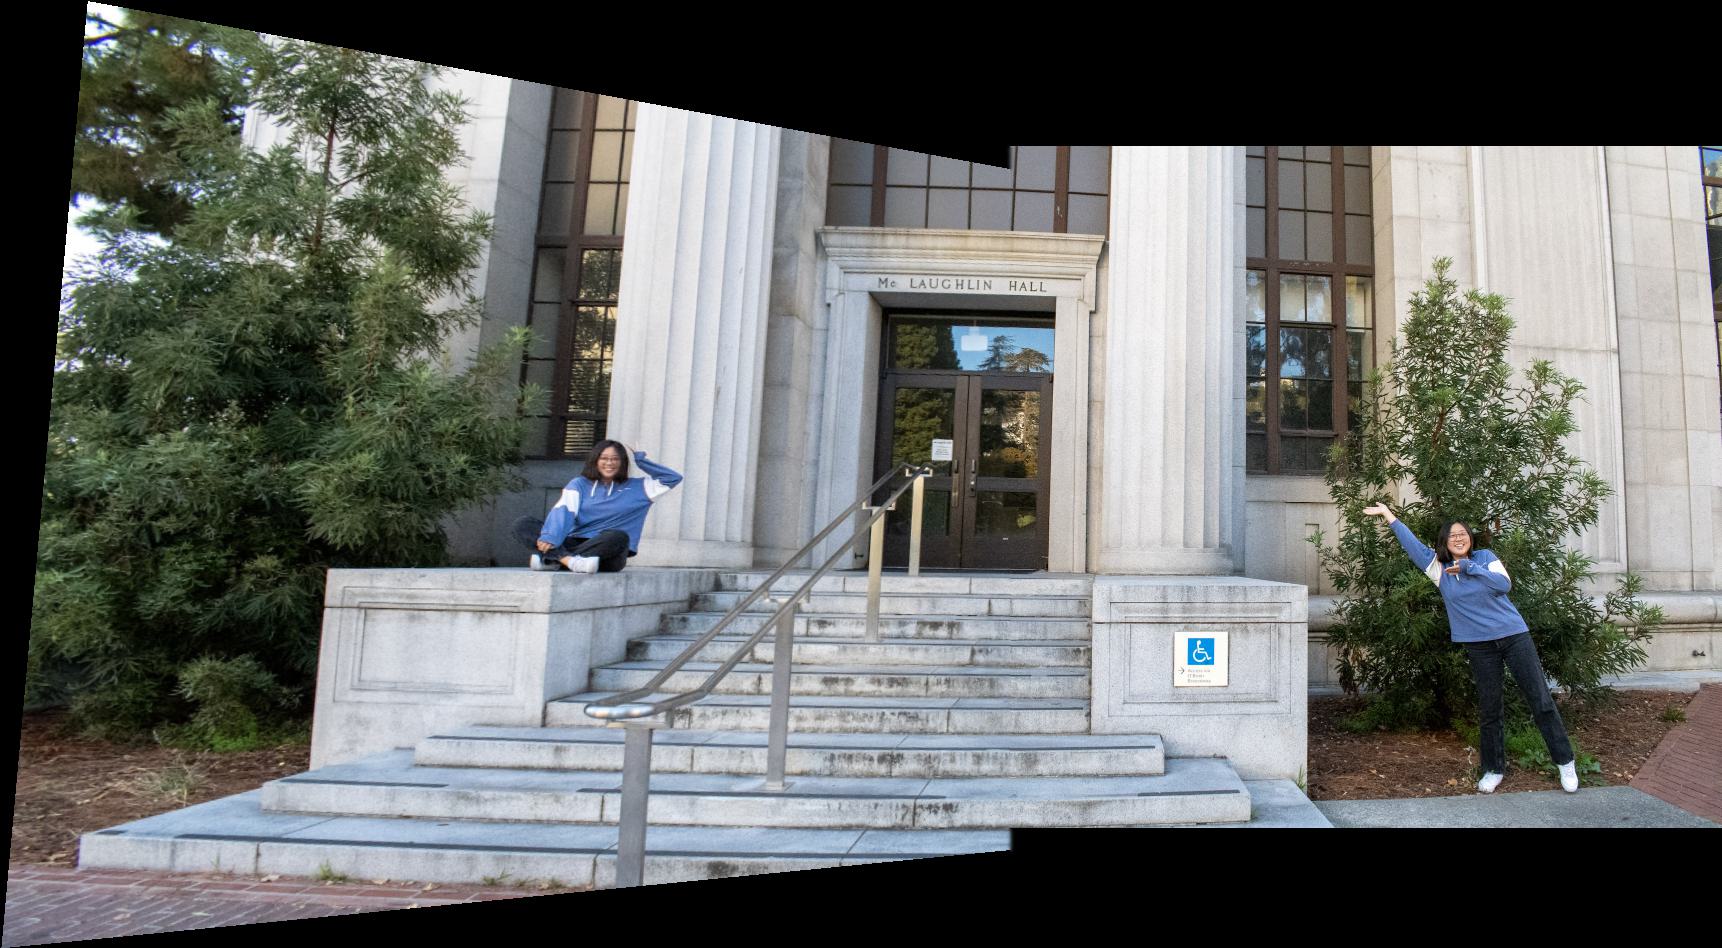
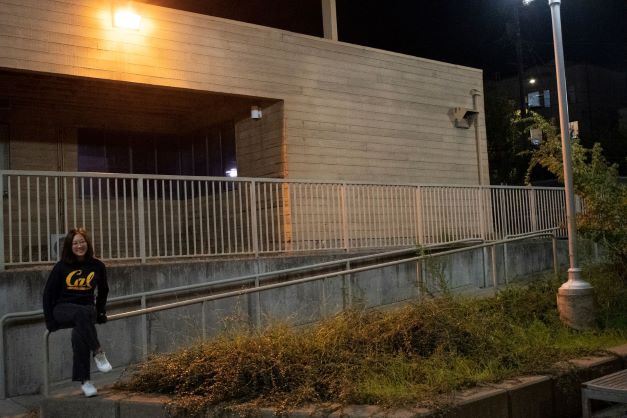
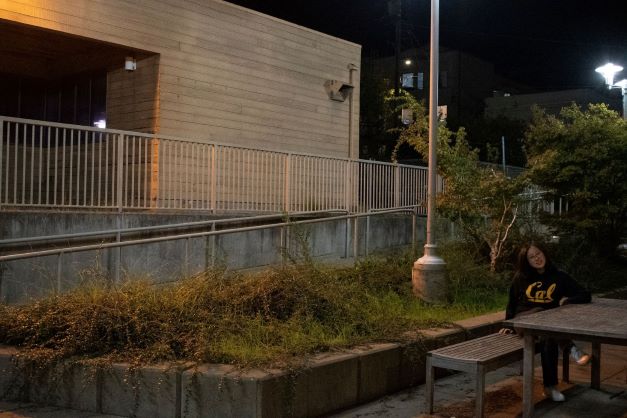
Me in front of Engineering Building:
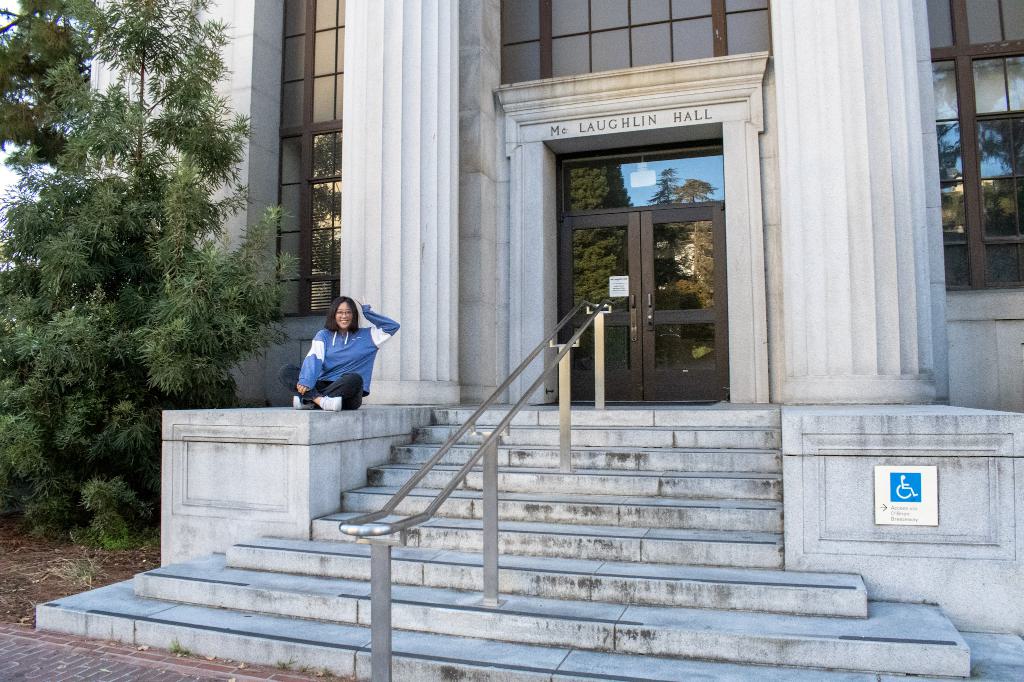
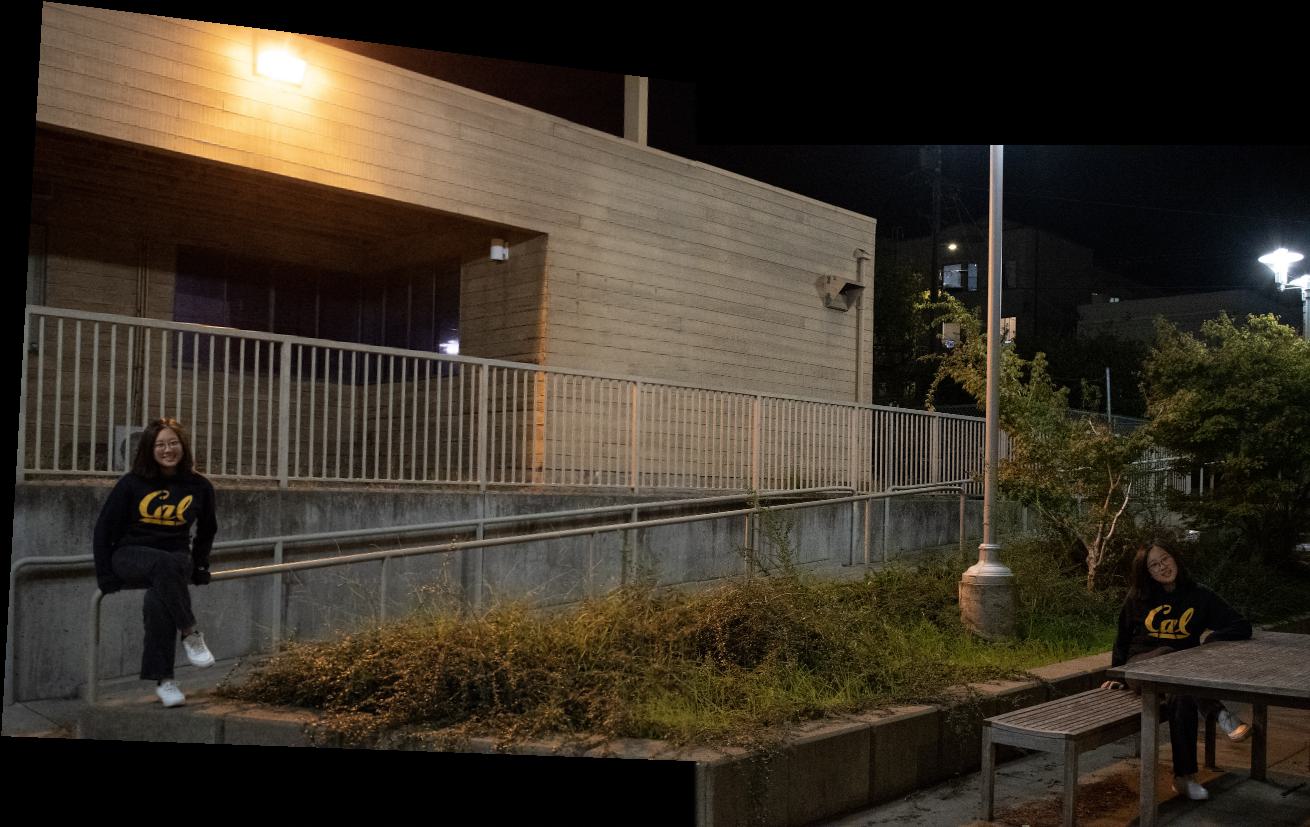
Stitched:
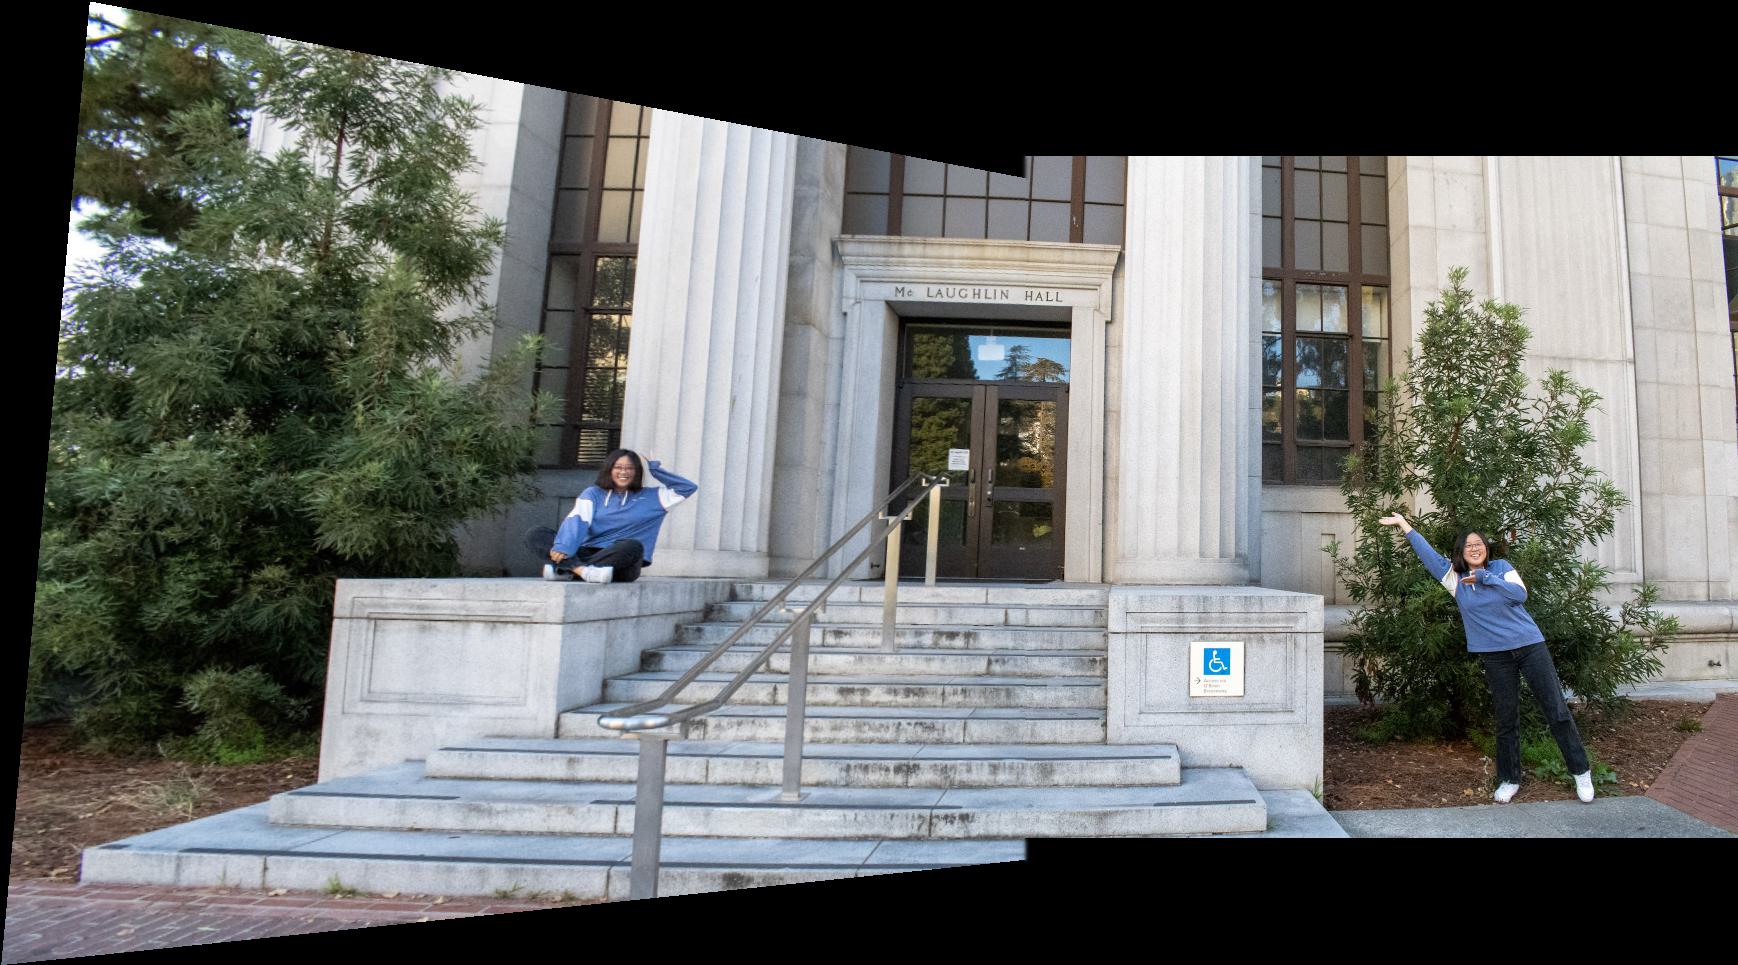
After some cropping:
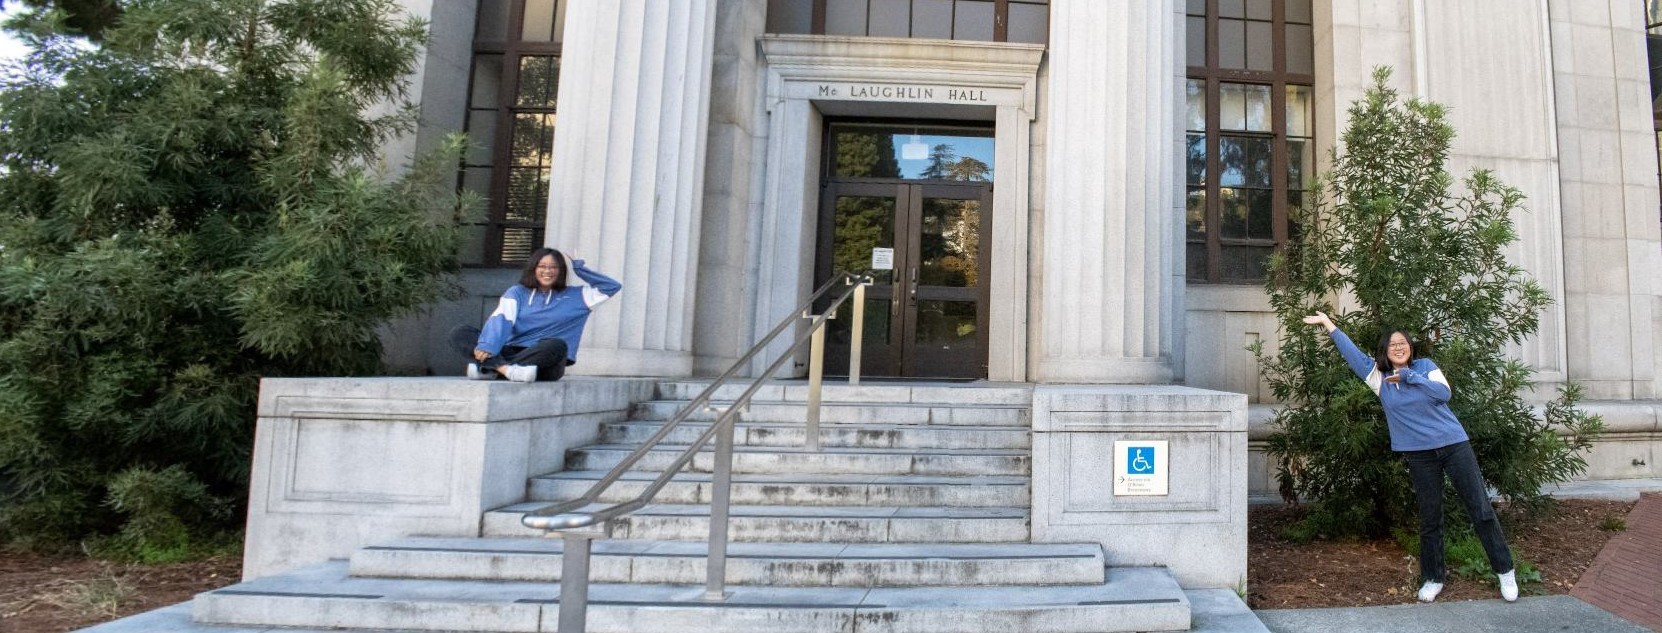
Wow look at me and myself!
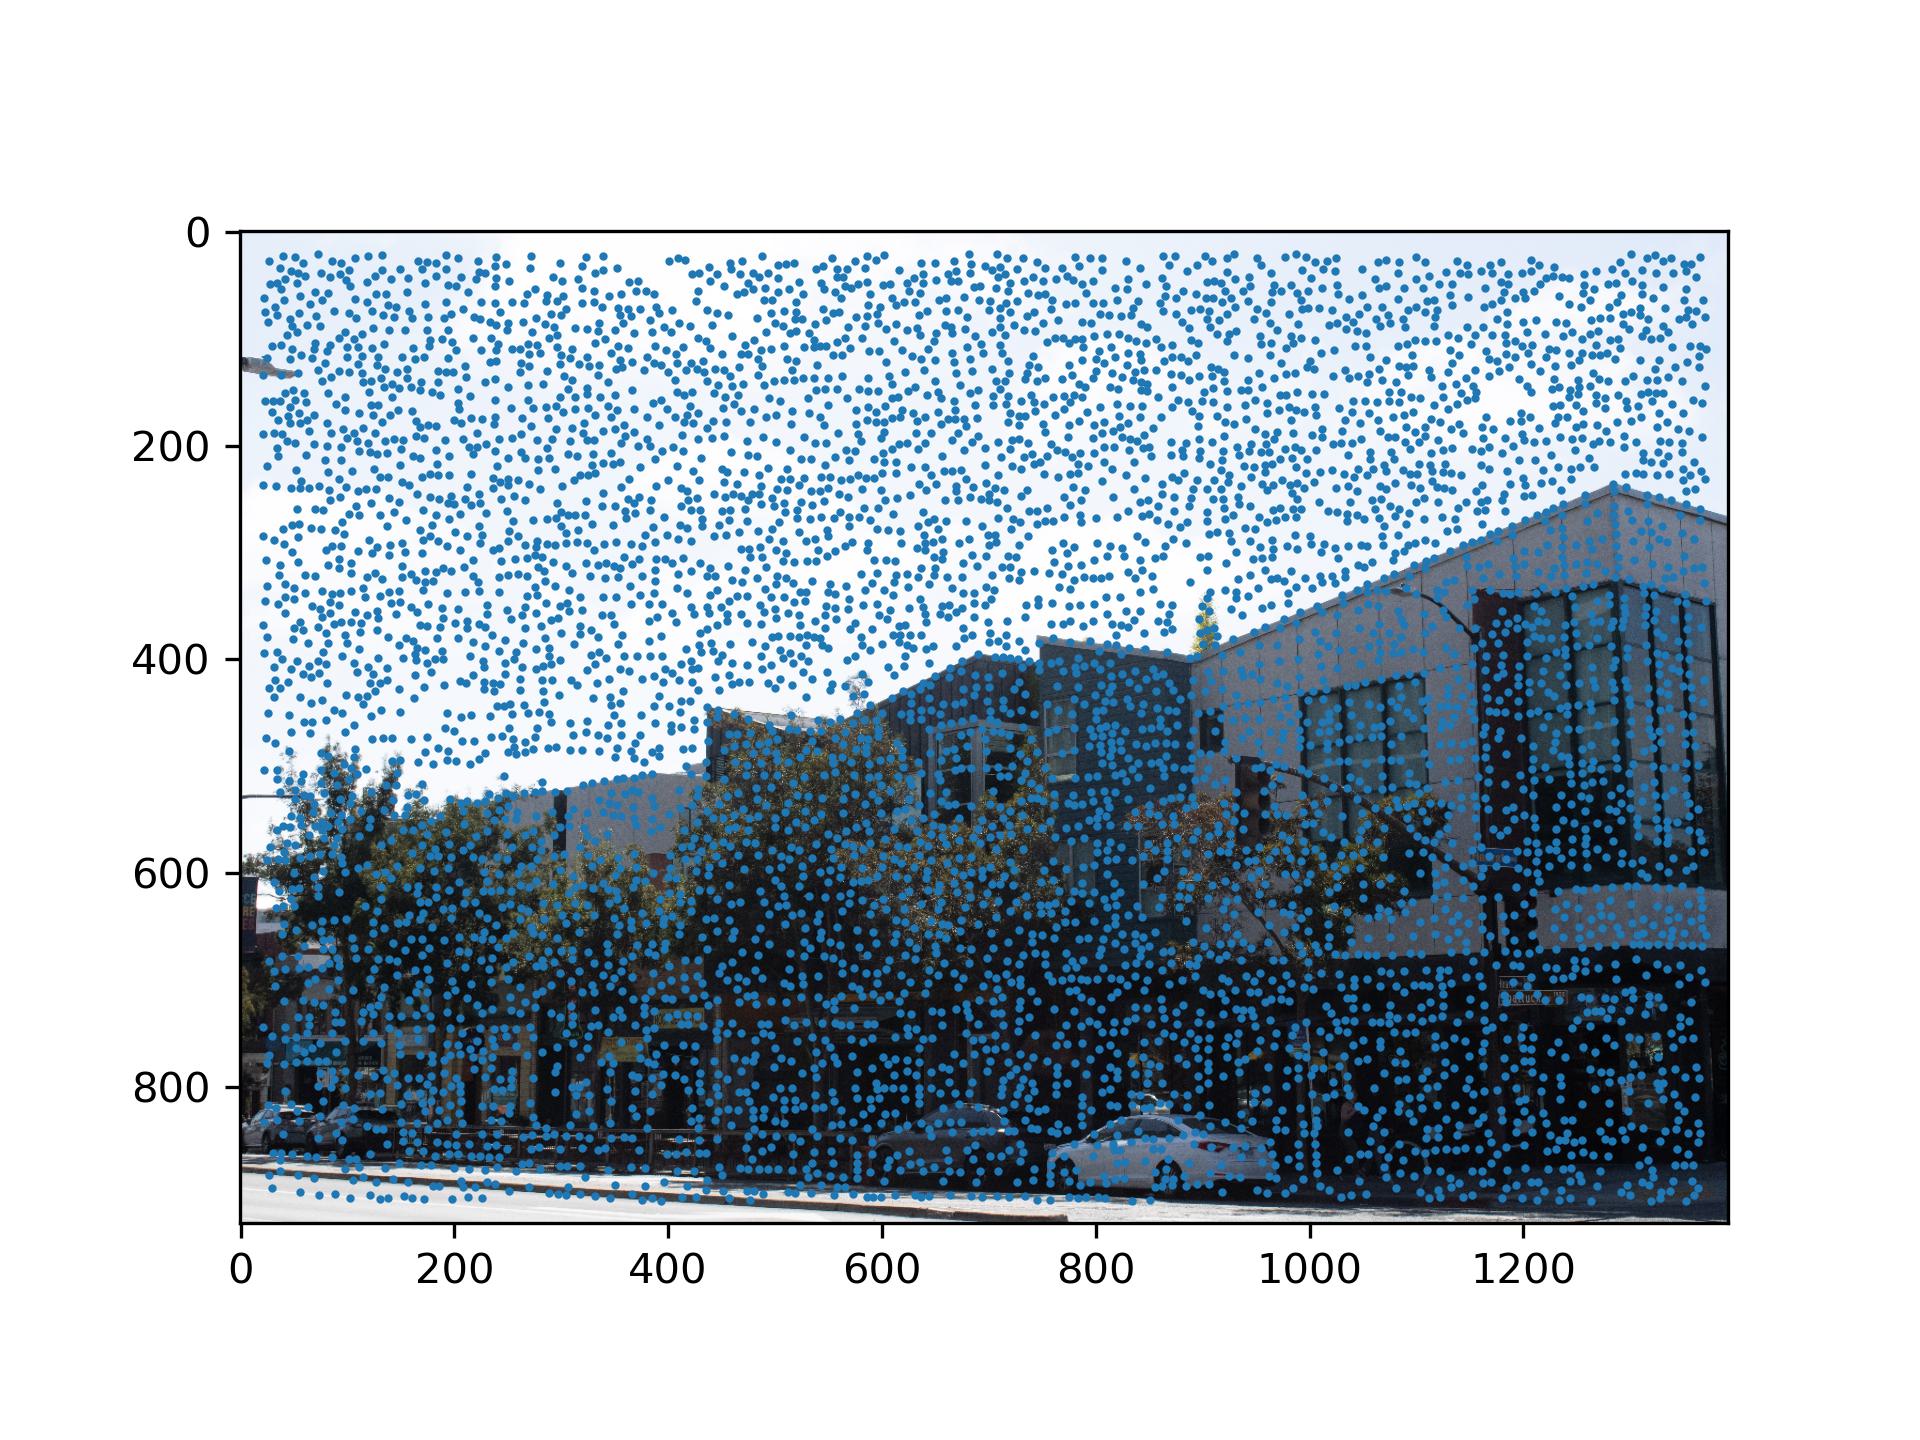
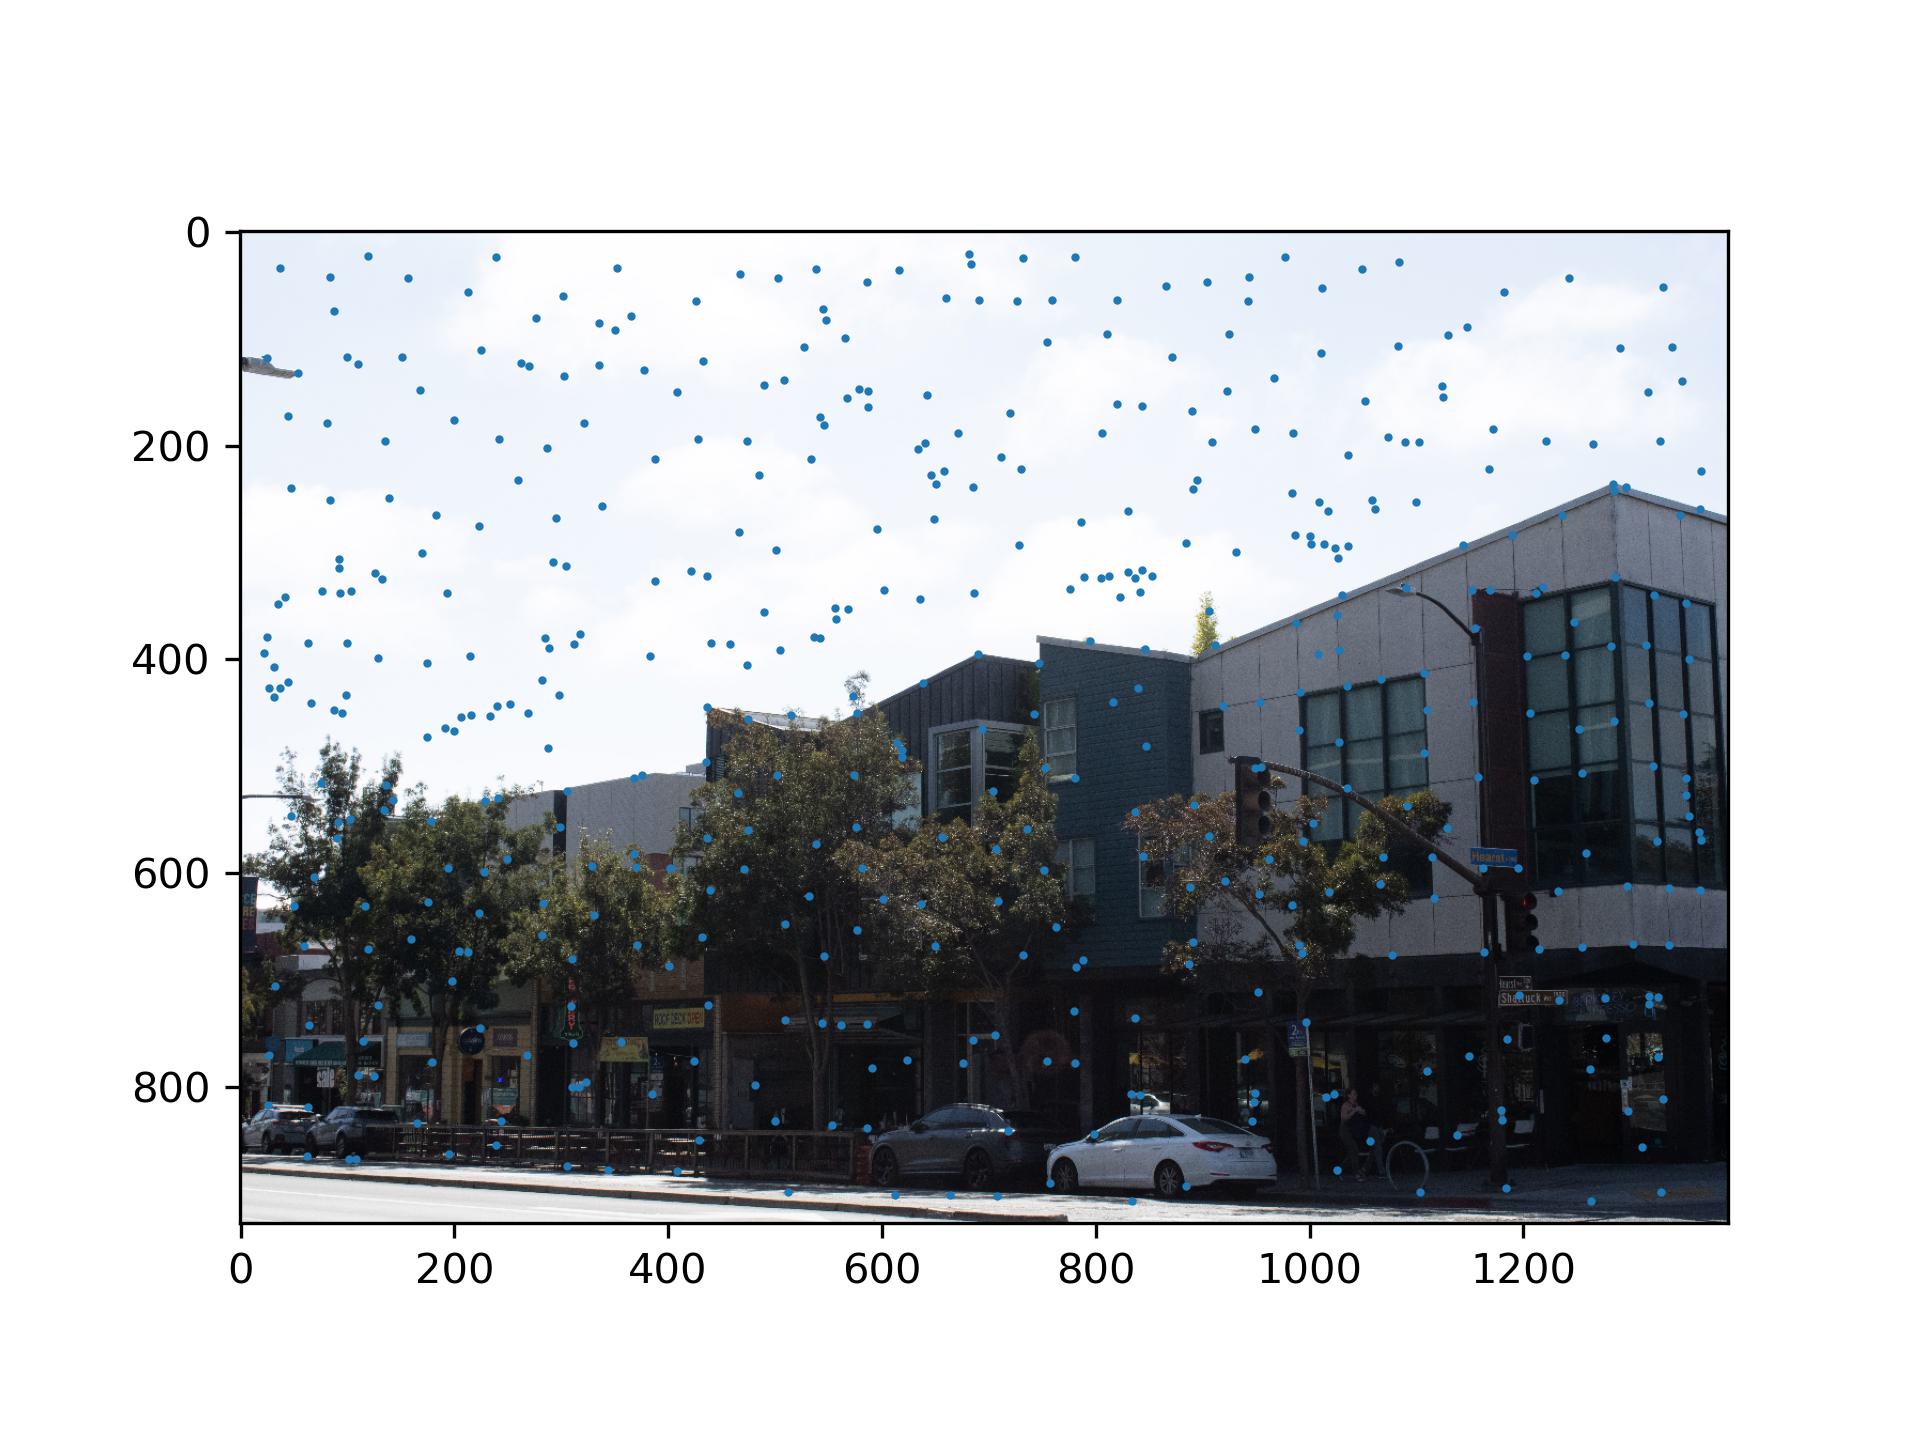
In the previous part, the transformation was computed from the points that I manually selected. In this part, I implemented automatic keypoint detection.
I first applied the Harris Coner Detector to the image. I changed the min_distance parameter in
peak_local_max to 5 to reduce the number of corners.
We obtained a lot of interest points from the previous step. However, some points are trivial and have very low
strength. To suppress this points, I calculated the minimum suppression radius for all the interest points in the
image.

Intuitively, this formula makes sense, because if a interest point is not trivial, then in the neighborhood it
resides in, it should be the most significant point in the neighborhood. If this neighborhood is very large, then
this point should be very significant. Therefore we rank the minimum suppression radius of all the interest points,
and take the top 500 points to be our result for this step.
I downscaled the image by 0.2 (40x40 --> 8x8) and took 8x8 patches from the image according to the coordinates of
the interest points. Then I normalized the features descriptors.
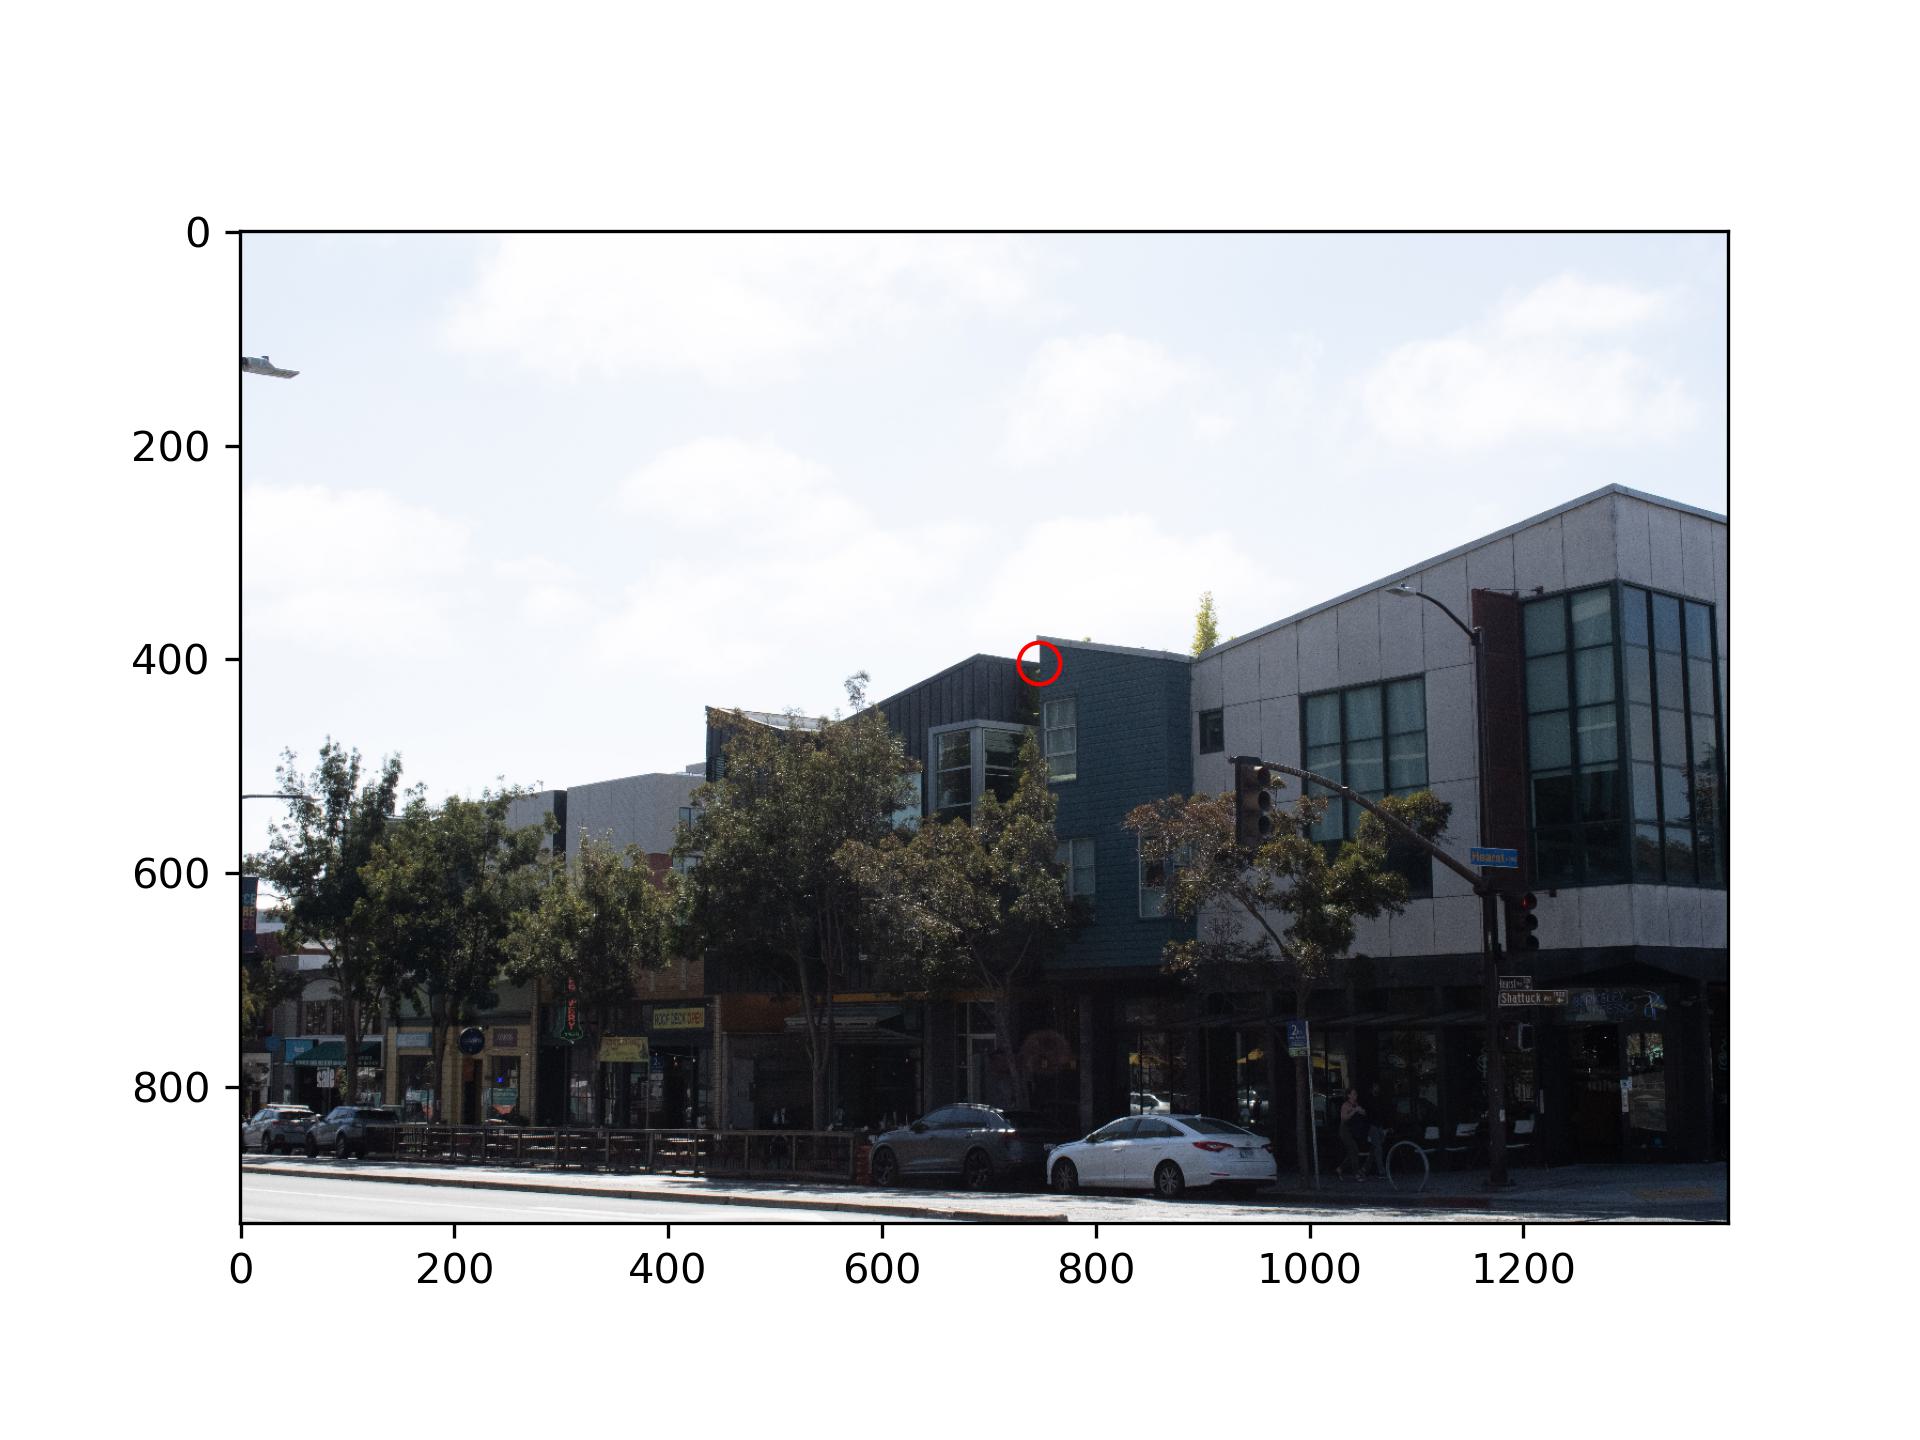
One example feature:

Where the feature is on the image:
With the features, it possible to filter out some interest points that don't look the same. By using Lowe's
trick, which says if the best match doesn't beat the second best match by too much, then both of them are not
the correct match, we can further reduce the number of interest points.
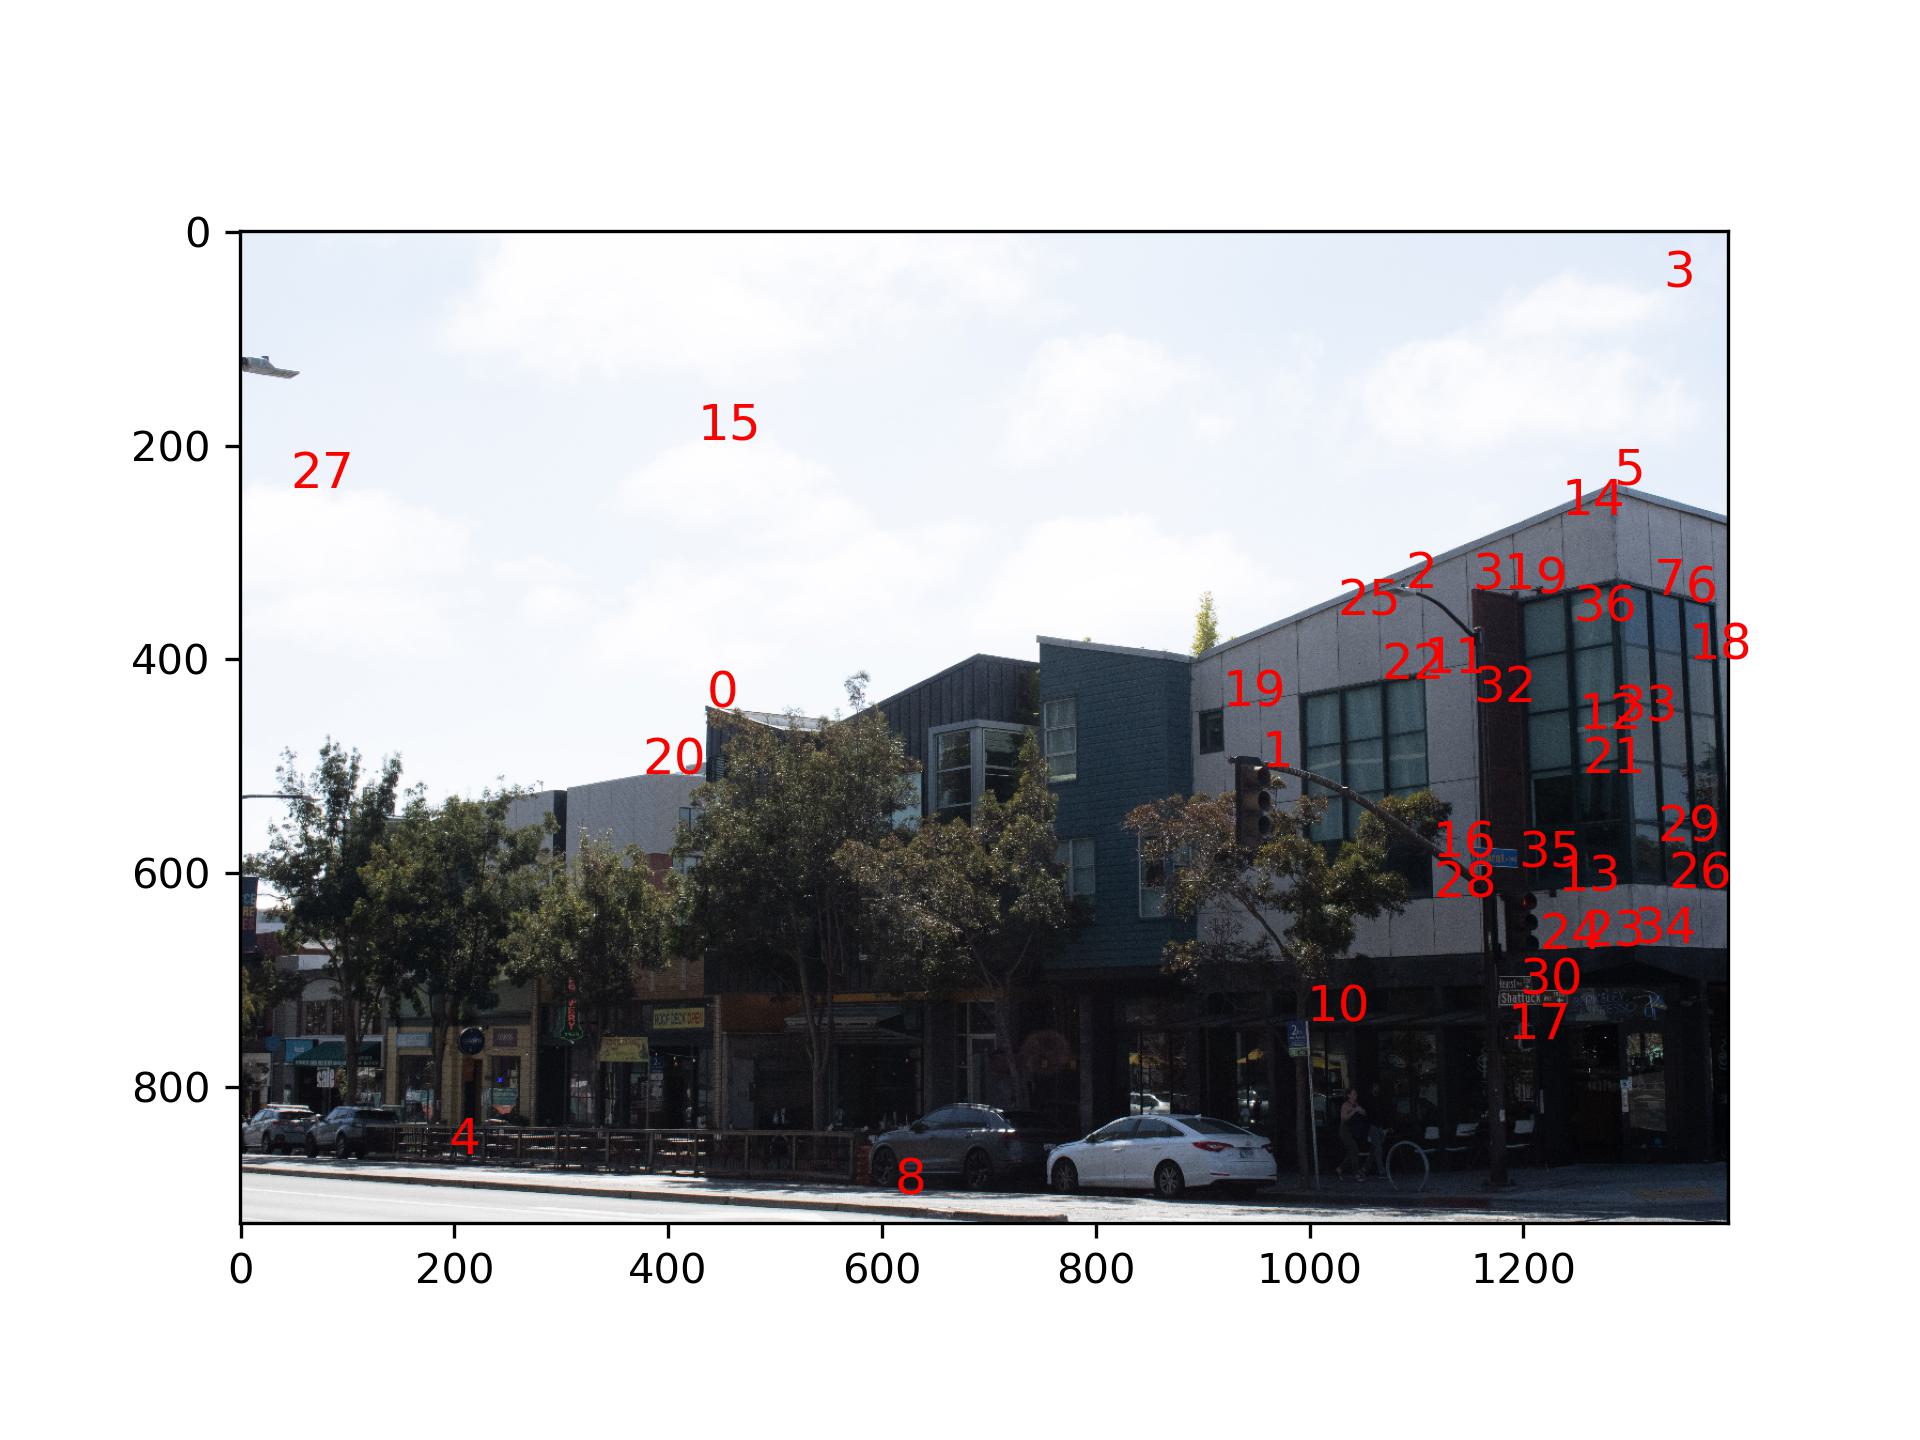
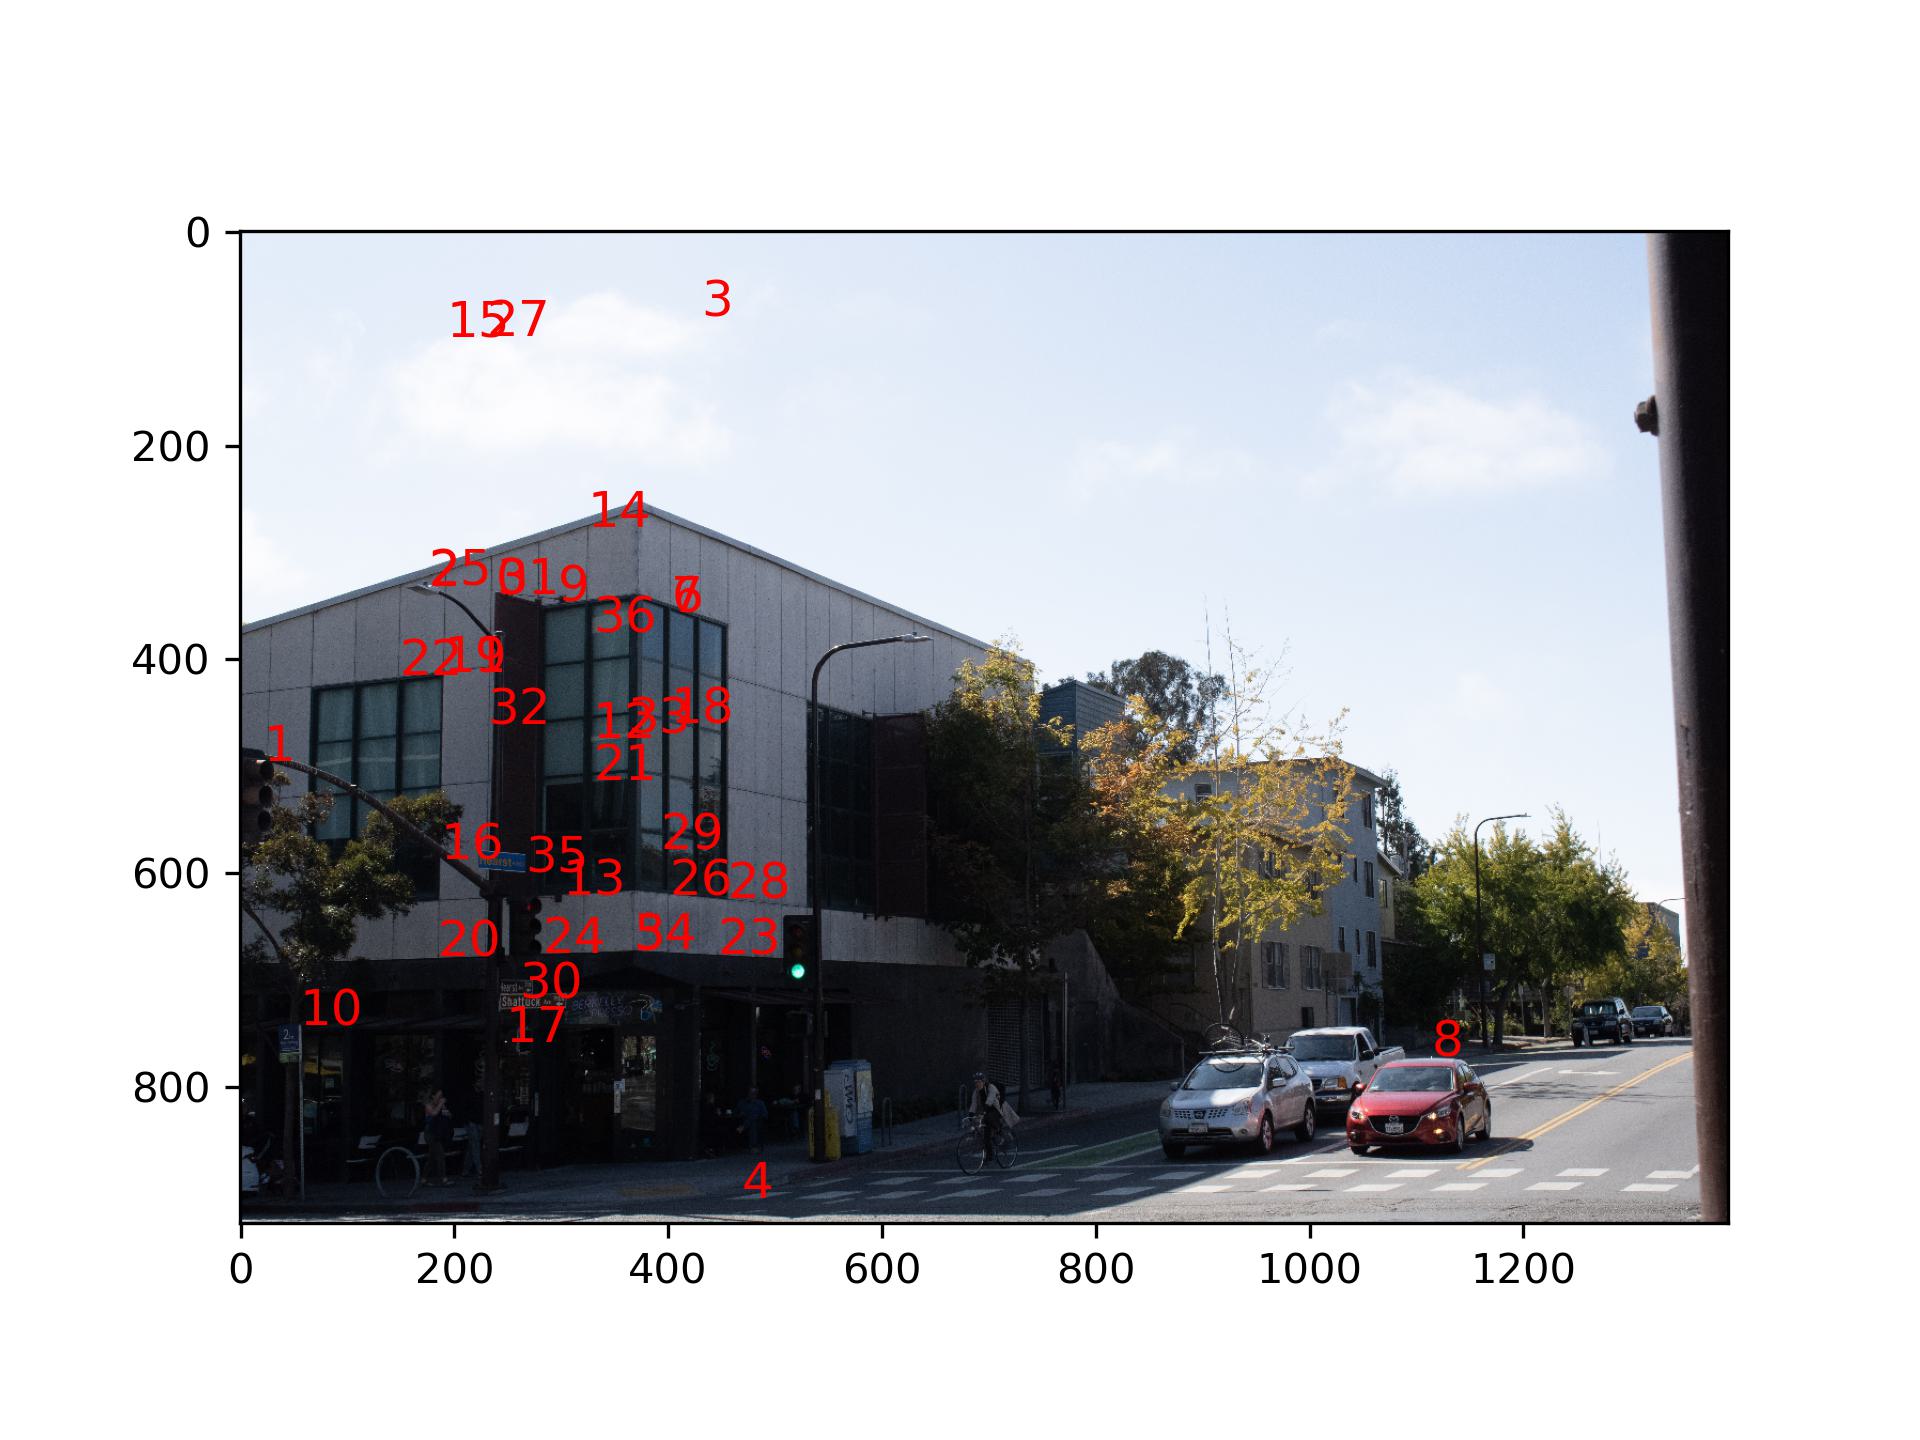
RANSAC filters out spatially inconsistent points. First, it randomly select a group of 4 points in the source image,
then computes a homography based on these four points. Then it compute the transformation of all the source points
based on the homography, and checked the deviation of calculated points location from the actual point location in
the destination. Points with a smaller deviation are considered inliers. This process is then repeated many times,
and the largest group of inliers is considered the final spatially consistent points. (RANSAC is very robust from my
observation)
VLSB:
Me in front of Engineering Stitched:
Cropped:
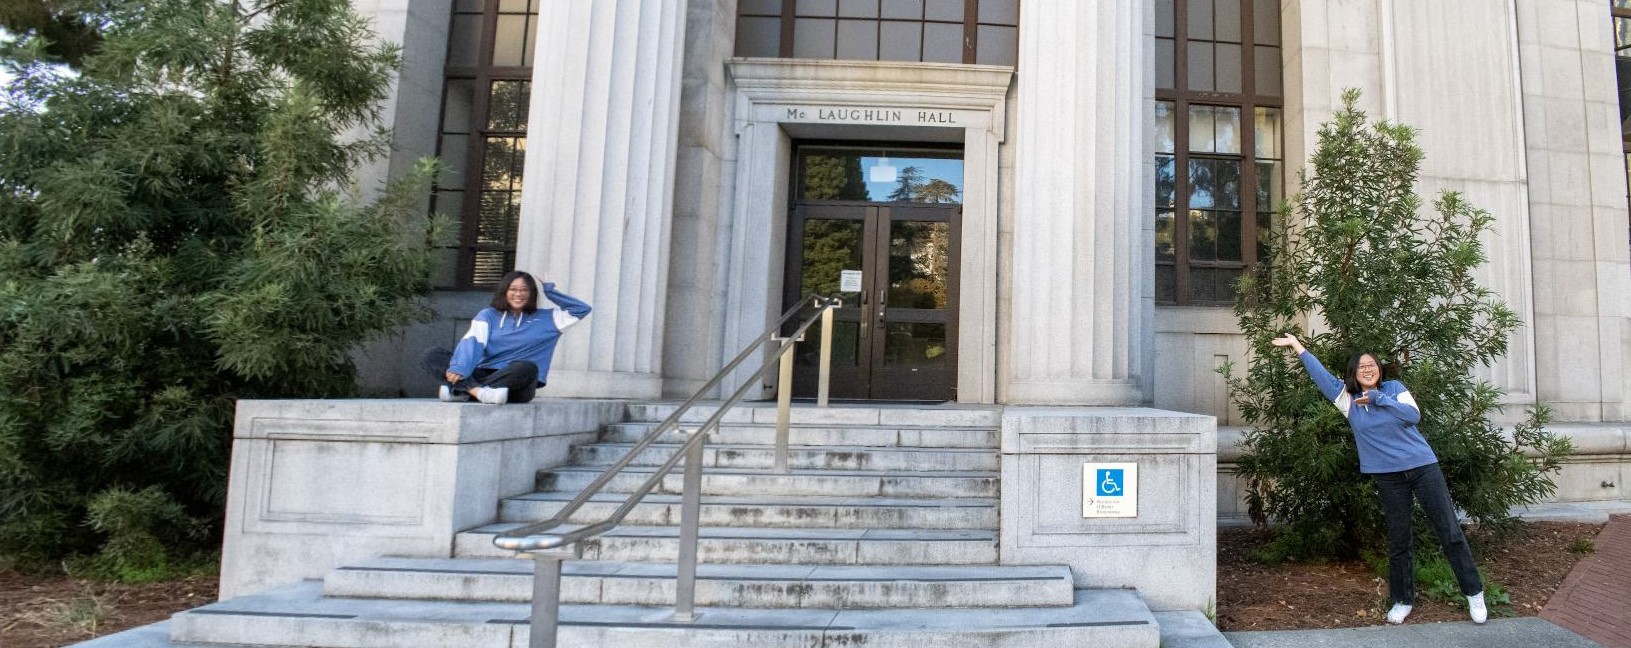
Stitched:
Cropped:

Stitched:
This is so far my favorite project. In summer when I was working for an organization, they asked me to read a paper which used SIFT features for pairing images together. Understanding that paper was very hard for me -- it took me a week to understand what was going on with Lowe's ratio test in the paper. I also skipped the RANSAC section completely because I could not understand it. 194-26 explained those to me very clearly, and I feel so proud of myself for implementing them in this project :-D